When it comes to food photography tips, this overhead setup is one of my favorites. With as popular as overhead images are in food photography, it’s important to have a solid setup that will help make your photo shoots more efficient and successful. Let’s dive into my favorite overhead setup for food photography!
This post contains affiliate links. Read the affiliate disclosure.

Popular Overhead Setups For Food Photography
There are two very common ways to shoot overhead. These include holding the camera or using a tripod. But, for me, these two options weren’t always successful for shooting images overhead. Let’s talk about the pros and cons of these two popular overhead setups.
Holding The Camera
PROS
I didn’t have a lot of food photography equipment in the beginning and when I was first starting out, I would shoot overhead images by standing over the food and holding the camera. It doesn’t get much easier than that, right? There’s no extra gear needed! You look, you lean and you hope you got the shot. And, sometimes you get it! But, sometimes wasn’t enough for me or my clients.
CONS
When I would hold the camera, a lot of my overhead shots either looked off balance or a little out of focus when I would review them later. This caused a lot of inconsistencies in all of my images, not just my overhead shots. As I gained more experience with client work, I noticed that a popular request was to get overhead images that could work well horizontally as well as vertically to accommodate different media orientations. Holding the camera always made this really difficult to achieve. Several images and a sore back later, holding the camera was too much of a guessing game for me. So, I decided to get a tripod.
Tripod for iPhone Food Photography
If you shoot food with your iPhone camera, you are probably holding your iPhone to take pictures… am I right? While it’s super convenient to hold the iPhone camera to take a picture, this can cause issues with food photography including blurry images and poor composition choices – which make your food images look low quality.
Check out my post that shares The Best Tripod for iPhone Food Photography! It solves the issue of blurry images because your iPhone camera is stabilized. It also solves the issue of poor composition choices because you can adjust the position of your iPhone for any of the three popular food photography angles including: overhead, straight on and 3/4 angle.
READ MORE ABOUT: THE BEST IPHONE TRIPOD FOR FOOD PHOTOGRAPHY

Tripods For Food Photography: Oben CT-3581
PROS:
The Oben was exactly what I was looking for in the beginning. It’s super lightweight (only 3 lbs!) and packs up small, which is really convenient for travel and shooting on location. One of my favorite features was that the legs flip upside down so I could position my camera for overhead shots without needing a separate extension arm. It also doesn’t take up a lot of room if you work in a smaller space for shooting your food photography.
CONS:
The issues I discovered with using this tripod for overhead shots was that the legs would sometimes get in the way of the image. This resulted in extra editing for me after the shoot. It was a bummer that my favorite feature ended up being more of an inconvenience.
I would also have to set up on the floor for overhead shots, which wasn’t efficient if I wanted to shoot other angles too. To shoot other angles, I would have to physically move the board from the floor to a table. Then, I would have to completely readjust my tripod to shoot at an angle. It was annoying and unnecessarily time consuming.
TIP: IF THE OBEN CT-3581 IS UNAVAILABLE, THE OBEN CT-3535 IS SIMILAR.

Tripods For Food Photography: Manfrotto 055
PROS:
I decided to get another tripod and got the Manfrotto 055. Manfrotto is a very popular brand in the photography community because the quality is sturdy and reliable. This tripod weighs a little more than the Oben (around 7 lbs). I didn’t mind the extra weight, because it felt more secure for stabilizing my camera. It also travels well for on location shoots and doesn’t take up too much space.
CONS:
The Manfrotto tripod comes with a center column arm for shooting food overhead. The issue is that the arm isn’t very long at all. It doesn’t reach far enough over the table to capture a nice table scape.
After doing some research, I decided to get an extension arm to attach to the Manfrotto. I ordered the Photek Tripod Extension Arm which allowed my camera to reach further across the table. If that one isn’t available, another good extension arm option is the Manfrotto 131DB.
The Manfrotto with the extension arm worked great for overhead shots. But, I came to the conclusion that I really don’t like adjusting the tripod legs for overhead shots. I think it can be time consuming to make sure each of the legs are positioned correctly.
And, when I wanted to shoot at an angle or straight on, I would have to remove the extension arm and completely readjust my tripod. This also felt unnecessarily time consuming.
I came to the conclusion that I love using tripods for angled and straight on shots, but for overhead shots, I wasn’t satisfied with all of the extra effort and time it required.
TIP: IF THE MANFROTTO 055 ISN’T AVAILABLE, THE MANFROTTO 190 XPRO WITH BALL HEAD IS SIMILAR.

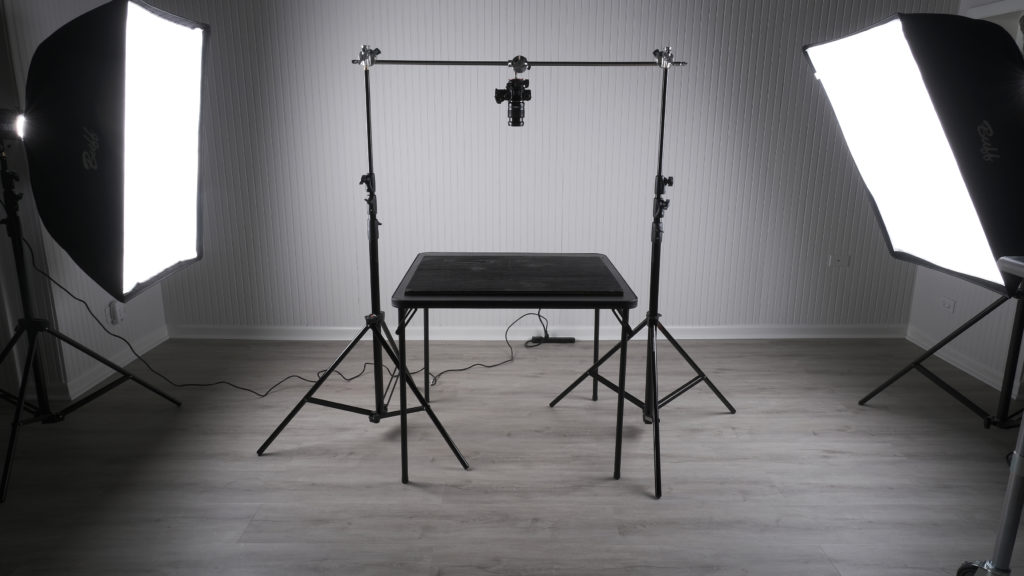
The Best Setup for Overhead Photography
After much research and getting creative in my home studio, I finally discovered a reliable setup for overhead food photography.
PROS
- Perfectly level shots that work both horizontally and vertically
- Ability to raise and lower my camera easily using the two light stands
- Allows me to use my tripod separately for the angled and straight on shots
- Easy to set up and take down
- Expandable for different surface widths
- No more holding the camera and “hoping” I got the shot
- No more tripod legs interfering with the image
- No more shooting on the floor
- No more annoying tripod leg adjustments
CONS
- The extra equipment may take up a little more space
- The cost of equipment could add up depending what you actually need
- You will need to shoot tethered using this setup (this isn’t necessarily a con, but it depends on your workflow)

Equipment For Overhead Food Photography
I’m going to walk you through the setup and include pictures and links to the equipment that you’ll need. There will be a summary of equipment listed at the end of the post and you can jump right into my Amazon Store to check out all of this equipment too.
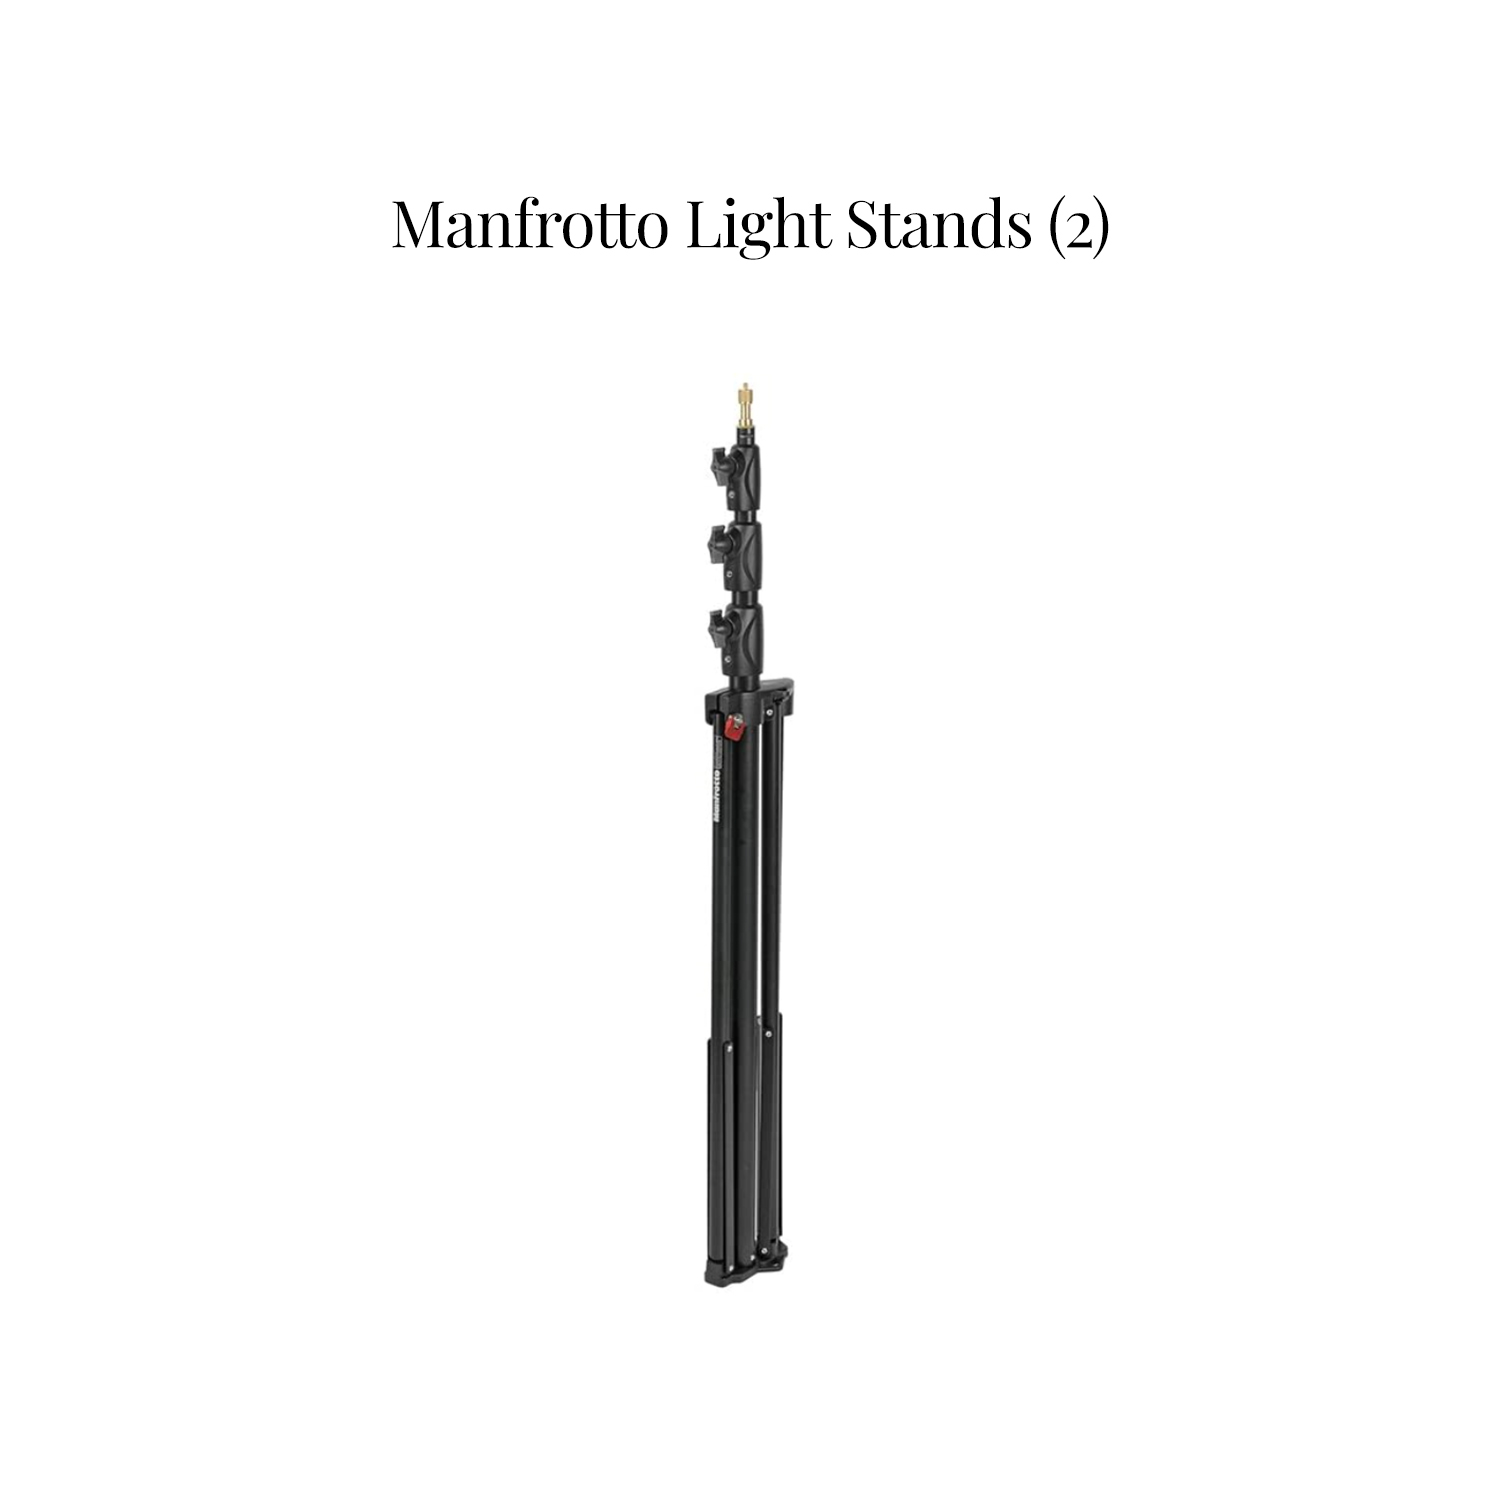
1. Two Manfrotto Light Stands
First, you’ll need two light stands. You will need to set up the light stands first and space them out far enough to support the width of your extension arm or pipe (listed next). The stands will allow you to raise and lower the camera with ease. I find adjusting two light stands much easier than adjusting the length of the three tripod legs. I recommend purchasing a level to be sure that your camera is positioned correctly.
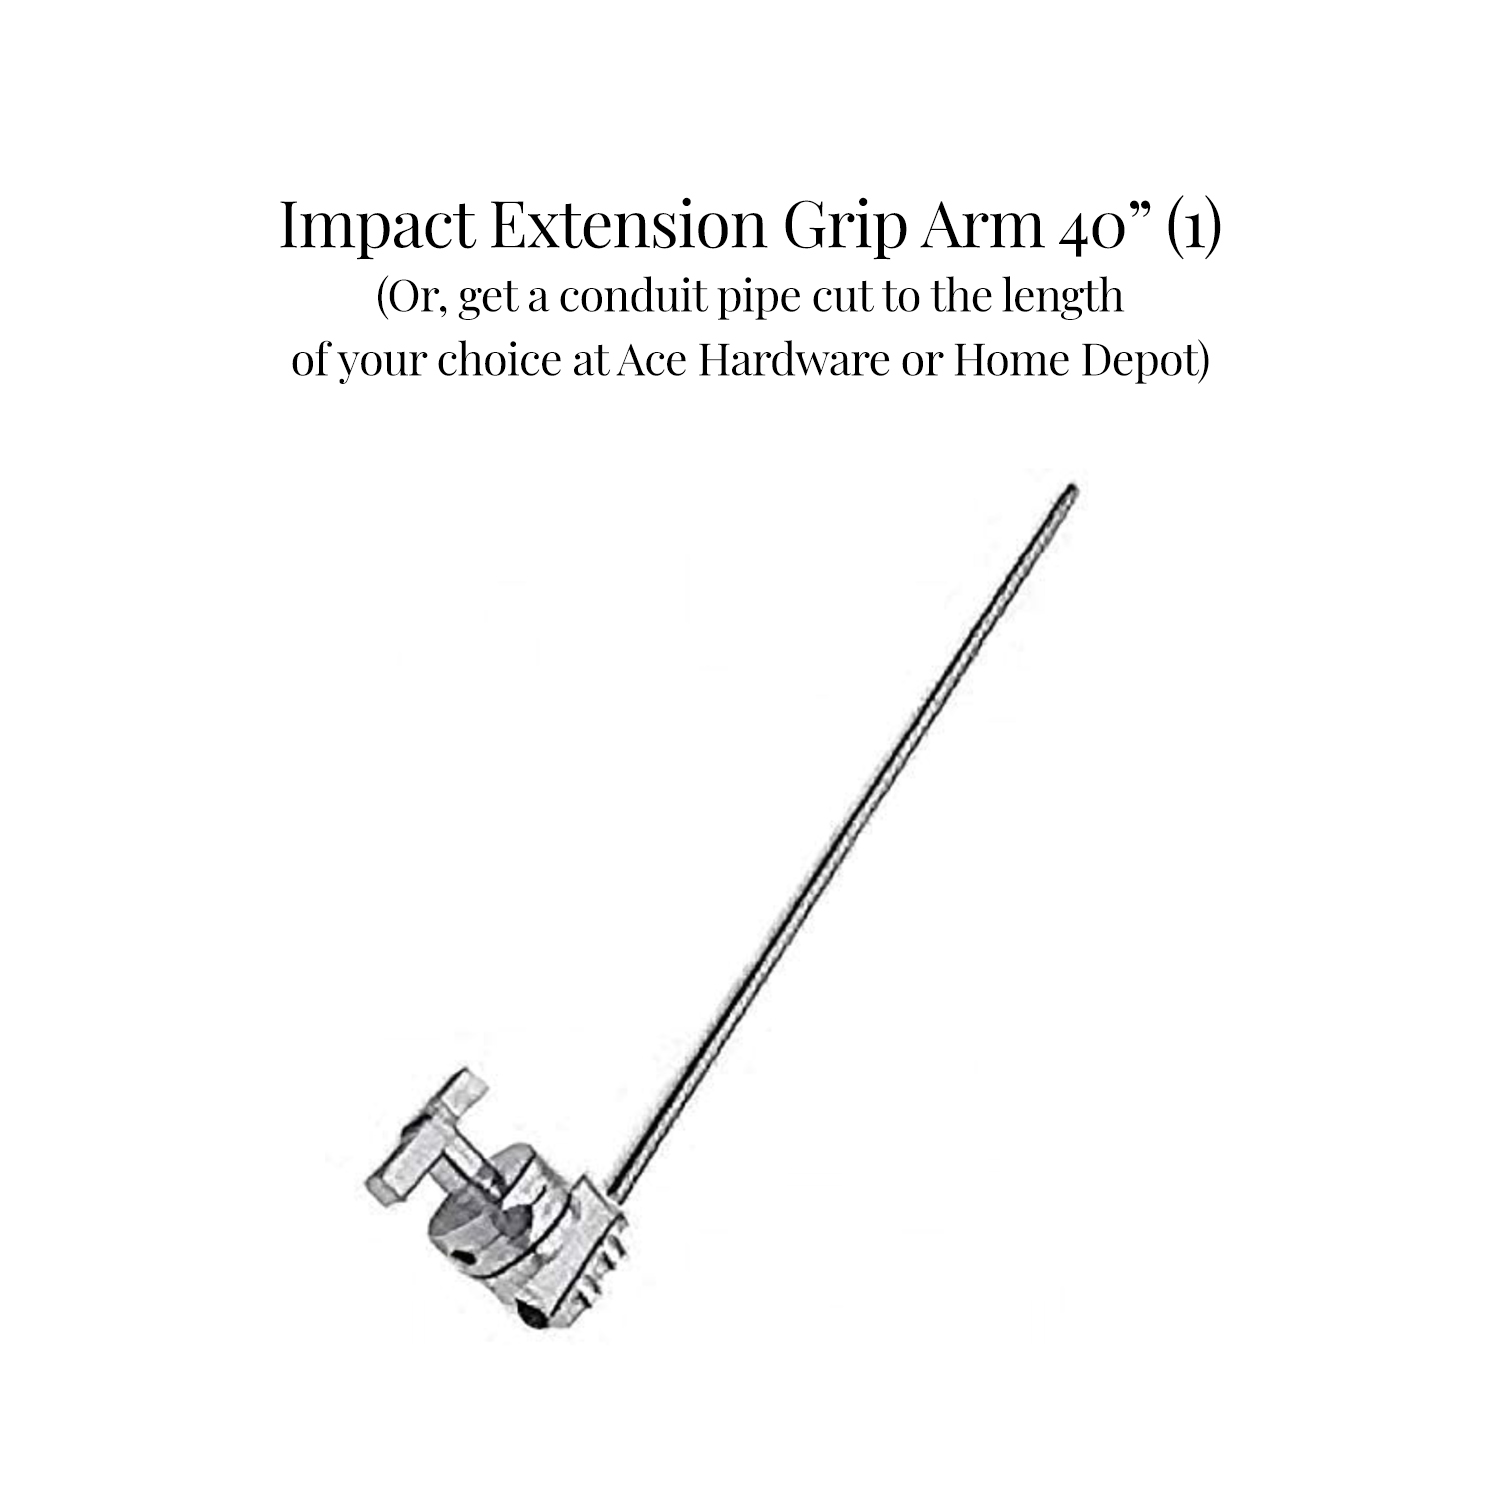
2. One Impact Extension Grip Arm – 40″
Next, you’ll need a bar to extend to the length of your choice. You can get an extension grip arm which is 40 inches in length. This grip arm comes with one Avenger Grip (listed next) already attached on one end. If you get this extension arm, you’ll need to purchase two more Avenger Grips for the overhead setup.
If the extension arm isn’t long enough to work with your surfaces, or if it’s unavailable, there are two other options you can try below.
CONDUIT PIPE
A lot of my surfaces are wider than 40″, so I decided to get a conduit pipe cut to 80″ from Ace Hardware instead of the extension grip arm. I brought an avenger grip to the store to be sure the diameter of the pipe would fit securely into the grip. If you decide to get a conduit pipe, you will need to buy three Avenger Grips for the overhead setup.
C-STAND WITH BOOM ARM
Using a C-Stand with a Boom Arm is another option as well. This will also come with one grip, so you’ll need to buy two more Avenger grips for the overhead setup.
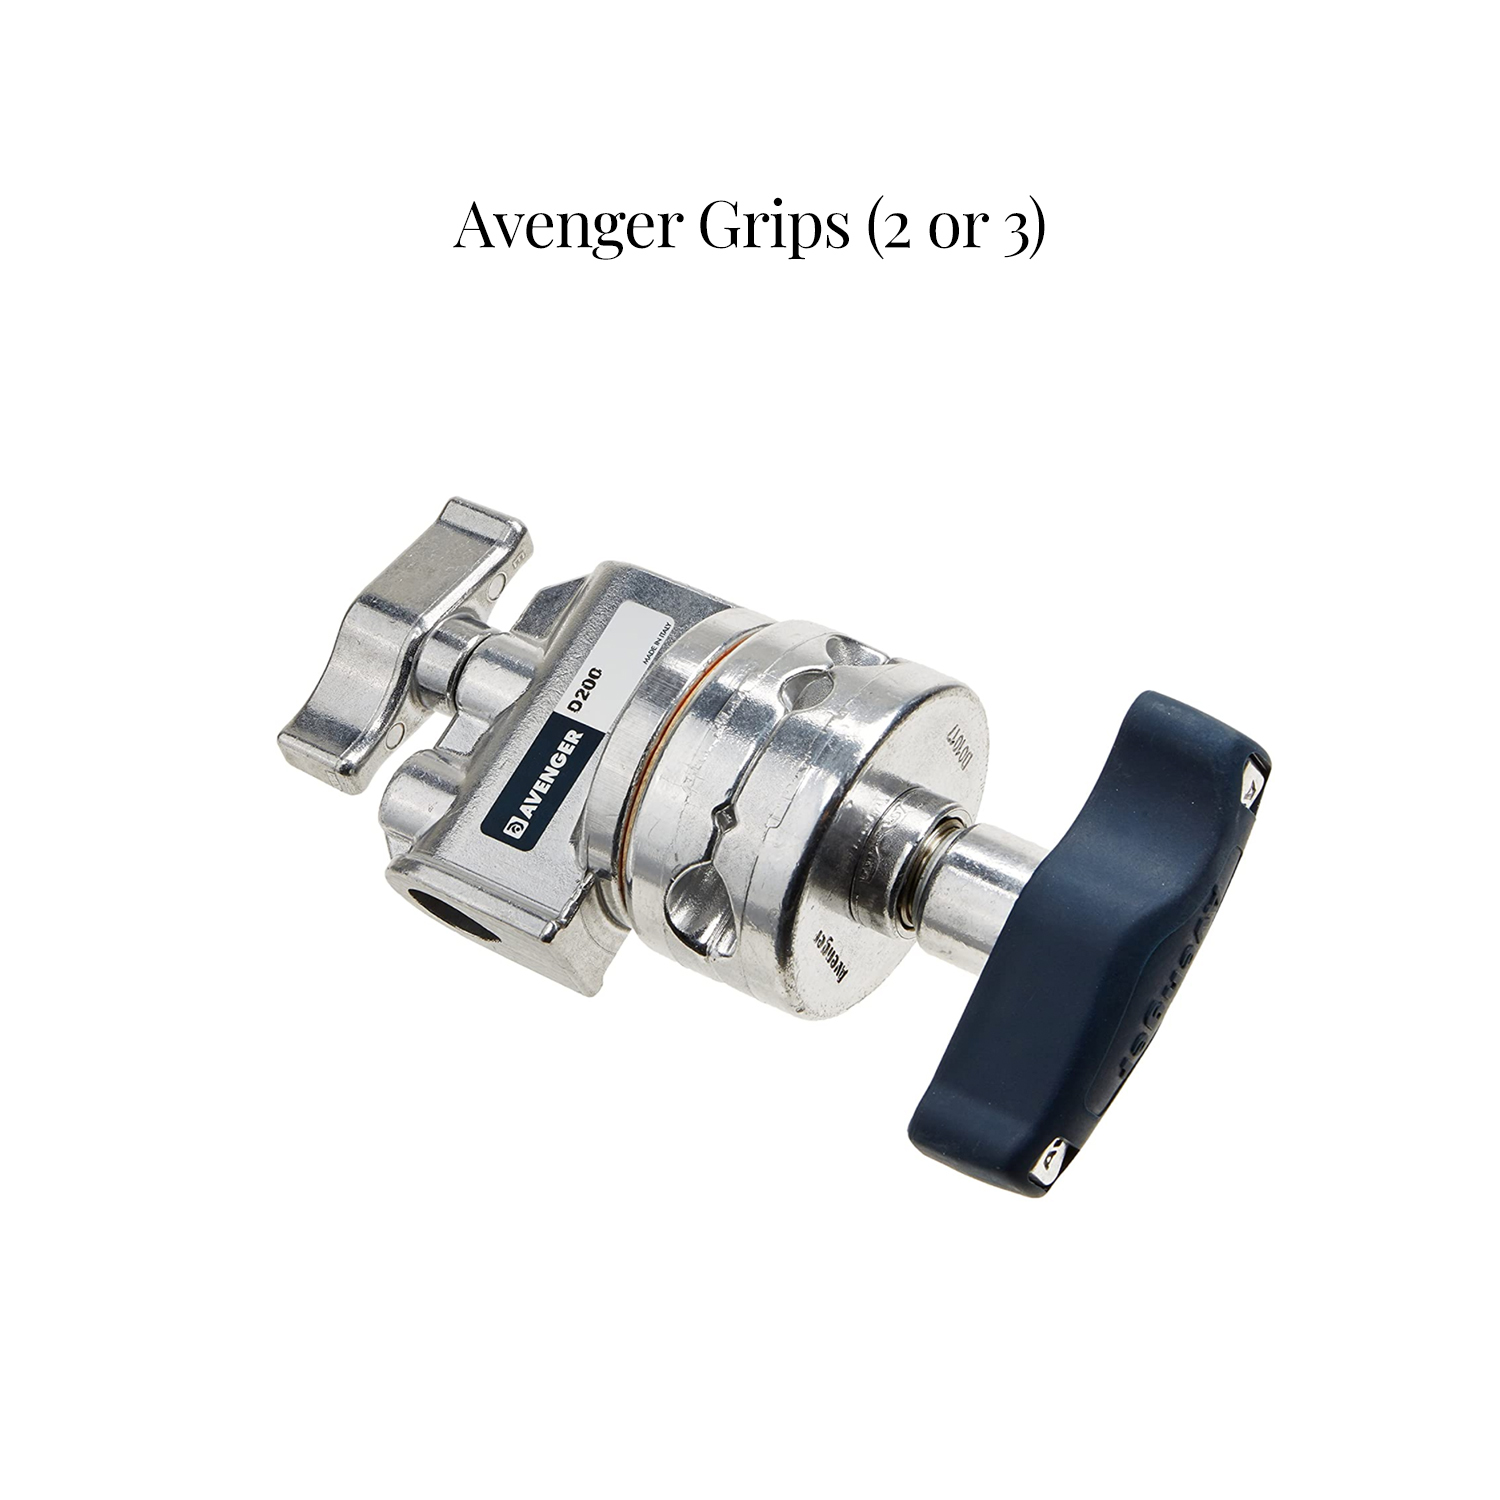
3. Two or Three Avenger Grips
You will need 2-3 avenger grips depending on if you’re getting the 40″ Extension Grip Arm, a custom cut conduit pipe or a boom arm.
You’ll want to be sure you have a grip to attach to each end of the arm and your light stands, as well as one positioned in the center of the arm to hold your camera.
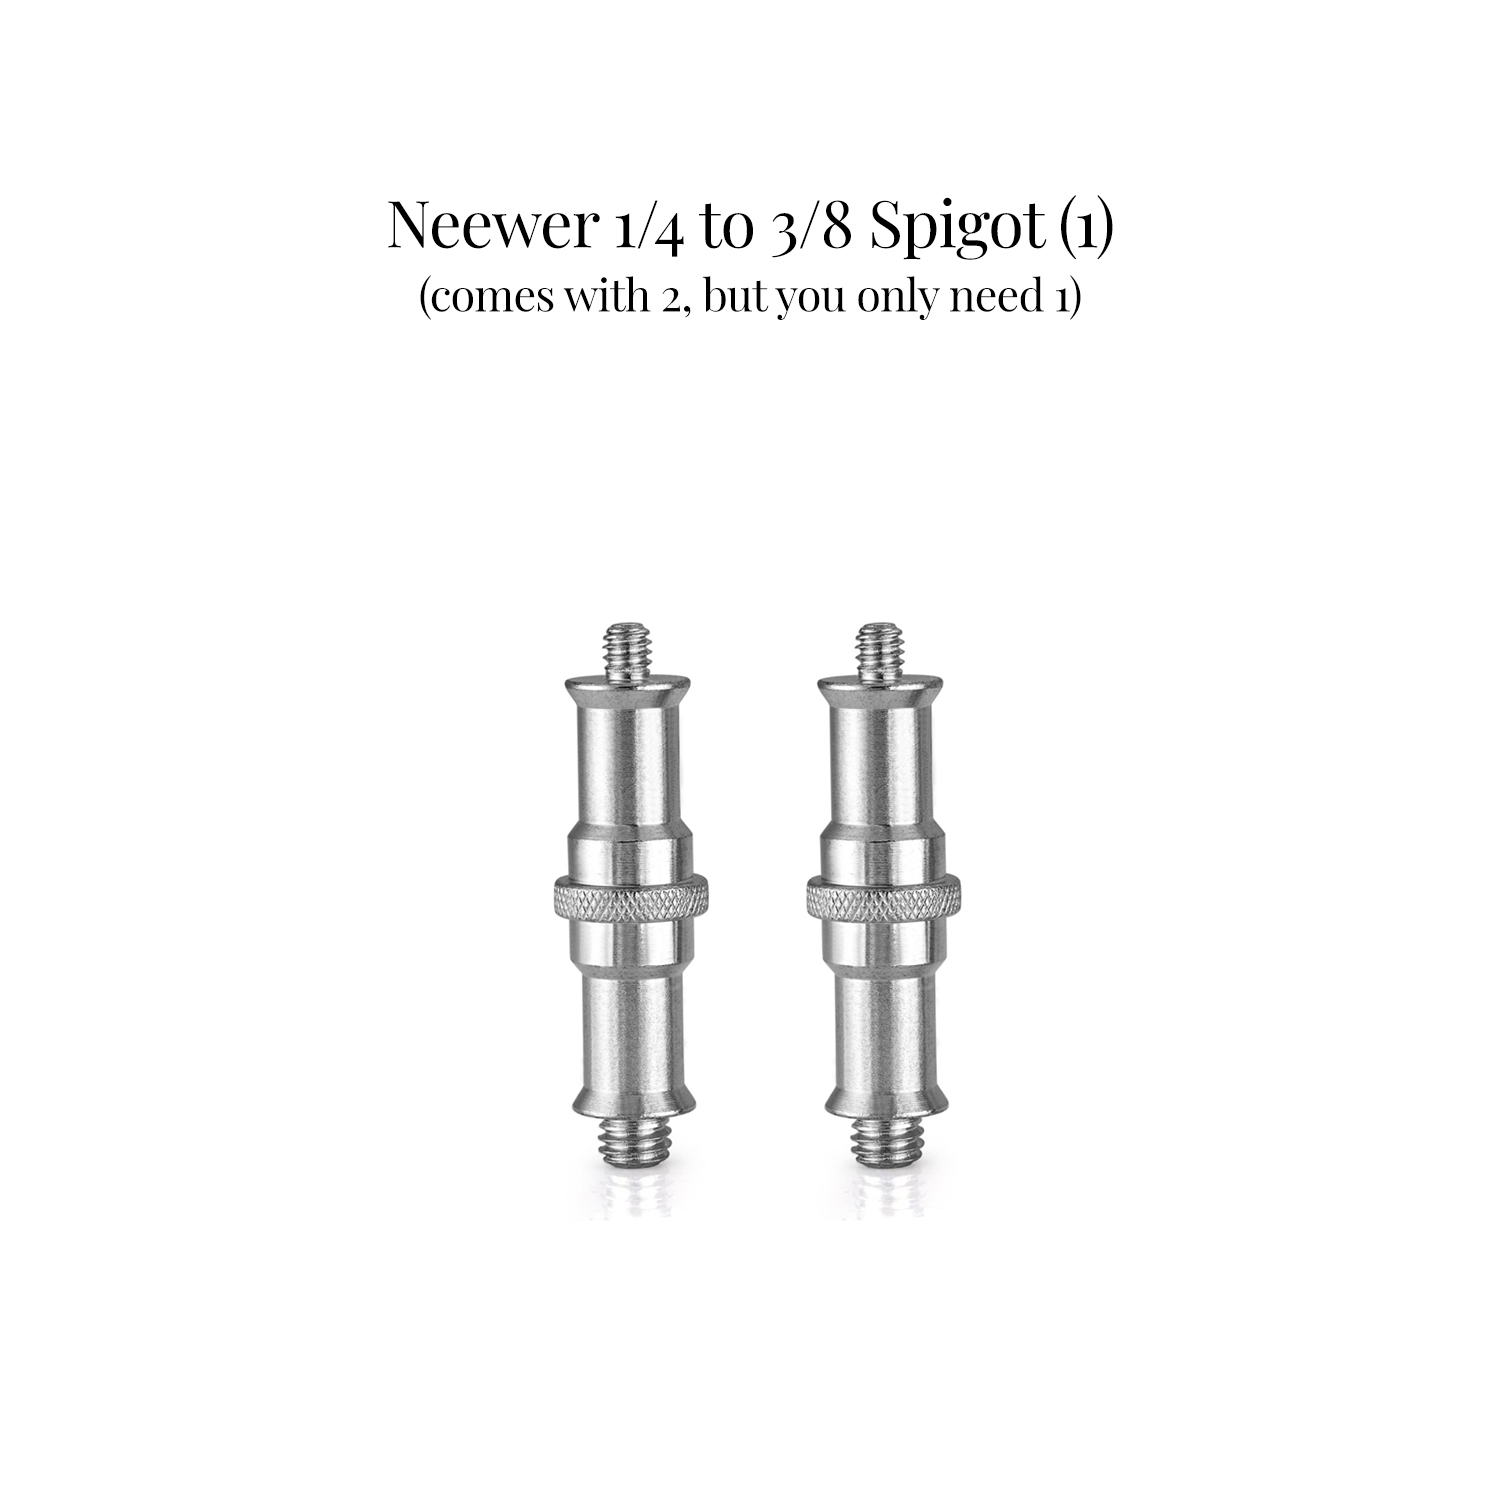
4. Neewer 1/4 To 3/8 Spigot
Next, you’ll need a spigot. One end of the spigot will attach to the grip in the middle of your extension arm or pipe. The other end will connect to the ball head from your tripod (listed next). You’ll get two per order, but you’ll only need to use one. These are small, so save the extra in case you lose the other one.
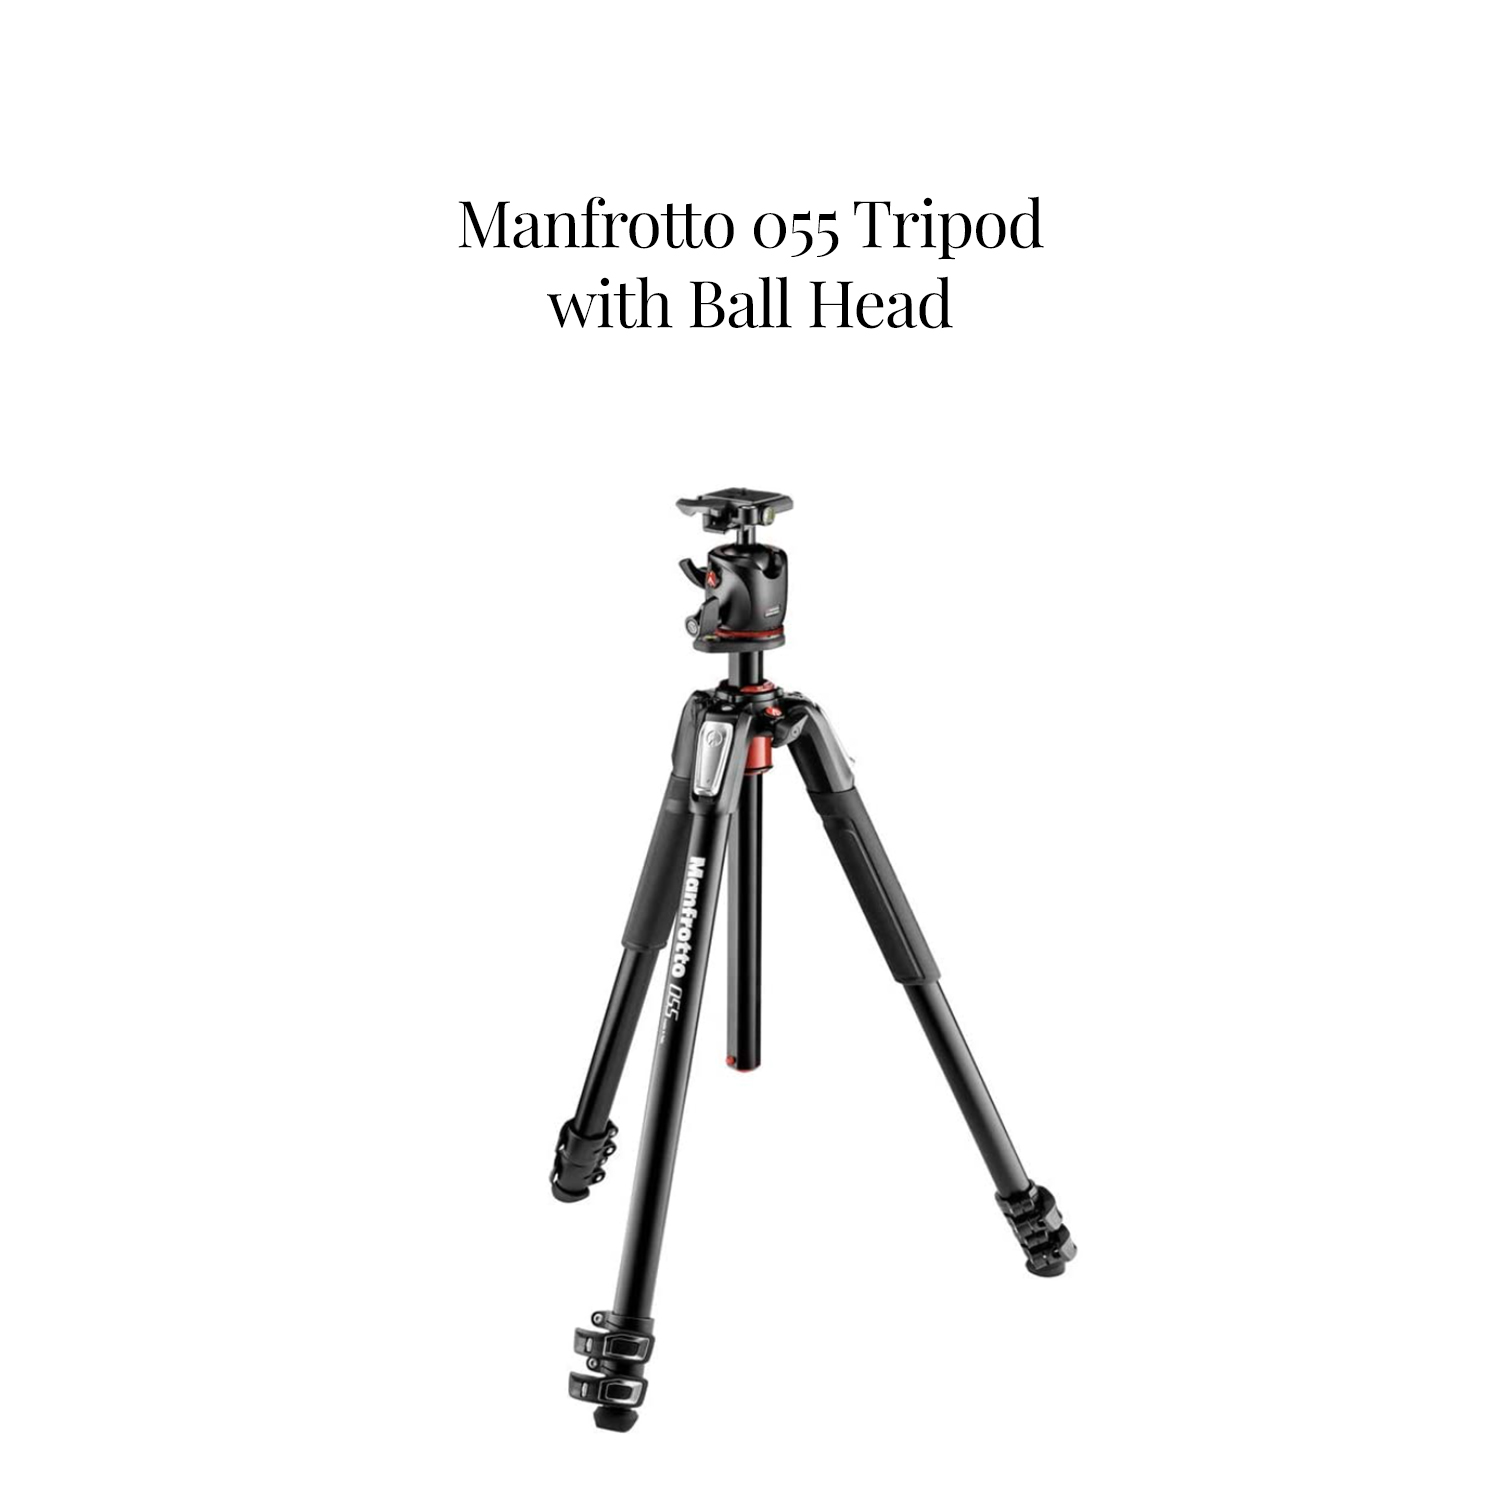
5. Manfrotto 055 Tripod with Ball Head
I like having my overhead setup as well as a separate tripod for other angles. I mentioned the Manfrotto 055 earlier in this post. I still use this tripod for other angles, and decided to buy an extra ball head to support my overhead setup. You can buy the tripod and ball head together or buy the ball head separately.
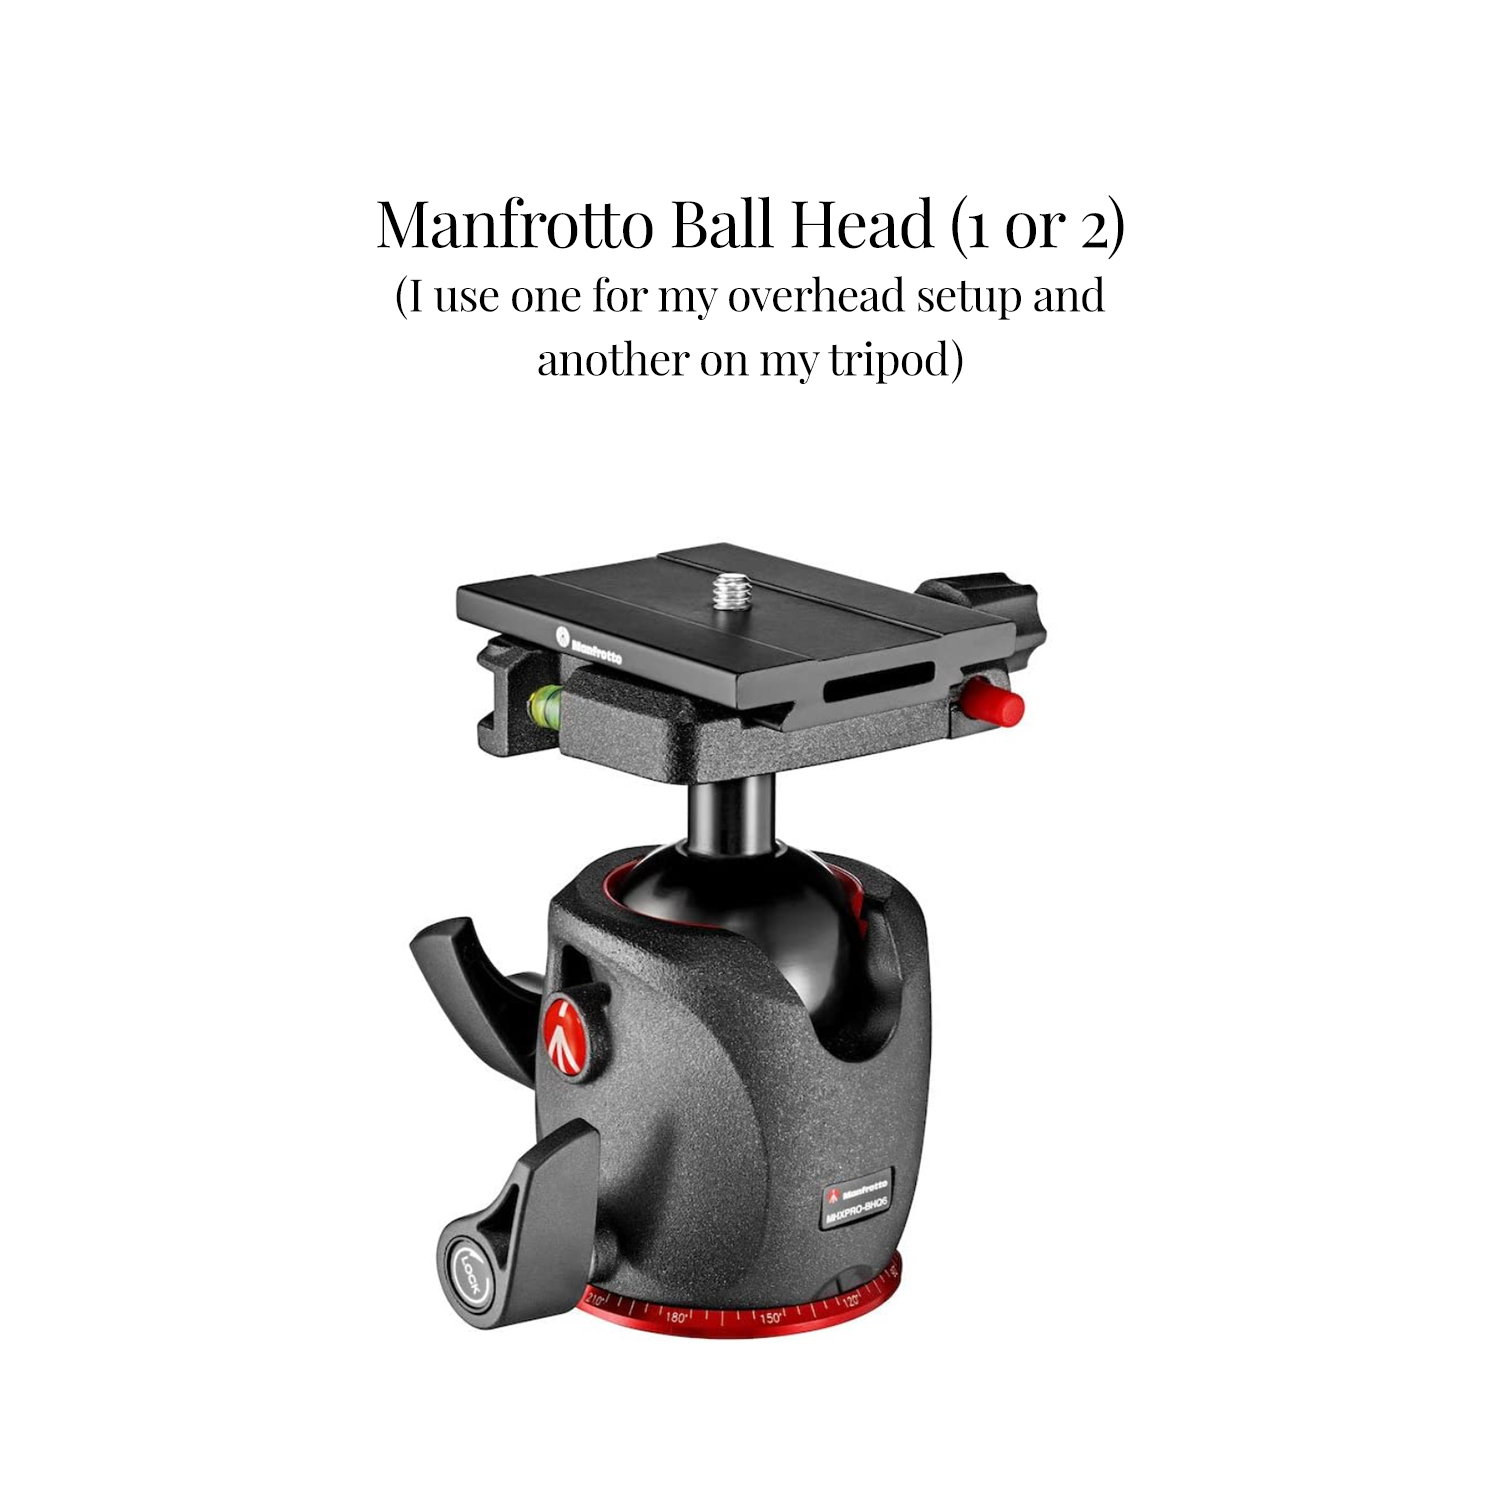
6. Buy the Ball Head Separately
If you’d rather not invest in the tripod, you can buy the ball head separately. Since I already had a tripod with ball head, I decided to get one extra ball head so I could use one for my overhead setup and use the other for my tripod.

Tethered Shooting For Food Photography
This overhead setup for food photography may require you to shoot tethered. If you can flip your LCD screen open so you can see it, you could get away with not shooting tethered. However, the screen is really small, so it could be difficult to see important details of your image.
Shooting tethered just means that your camera has a cable connecting it directly to your computer. It allows you to review your images on your computer as you shoot so you can see your image on a larger screen.
Seeing your images displayed on a larger screen is a great way to improve your food images, because you can see everything more clearly and make adjustments as you shoot.
Tether Tools
There are a variety of tether cables to choose from. Make sure the tether cable you get is compatible with your camera model before purchasing. Tether tools is a great resource to make sure you get the right cable. When you go to their home page, click Search By Camera at the top of the page. From there you can enter your camera brand, model and computer port and it will tell you exactly what tether cable you’ll need. Easy peasy!
READ MORE ABOUT: HOW TO SHOOT TETHERED FOR FOOD PHOTOGRAPHY

The Cost Of Overhead Photography Equipment
This overhead setup for food photography will vary in cost depending on what materials you actually need. It cost me under $500 for this setup and while that may sound pricey, it has been absolutely worth it for as often as I’m shooting food images overhead. I love having a solid overhead setup that allows me to use my tripods separately for angled and straight on shots. It’s been a super efficient way to shoot.
In conclusion, there is no right or wrong way to shoot overhead food photography. It’s important to do what works best for you, your space and your budget. I hope it works out for you! Reach out with questions anytime!
Happy Creating!
SUMMARY OF EQUIPMENT
- MANFROTTO LIGHT STANDS (2)
- IMPACT 40 INCH EXTENSION ARM
- IF THE EXTENSION ARM IS UNAVAILABLE, GET A C-STAND WITH A BOOM ARM.
- AVENGER GRIPS (2 or 3)
- NEEWER 1/4 TO 3/8 SPIGOT
- MANFROTTO 055 TRIPOD WITH BALL HEAD
- BUY THE BALL HEAD SEPARATELY
- SMALL LEVEL
FIND ALL OF THE GEAR FOR THIS OVERHEAD SETUP IN MY AMAZON STORE.
This post contains affiliate links which means if you click or make a purchase through my site, I might make a small commission (at no extra cost to you). I only promote products and equipment that I actually use and support.
All images ©Regan Baroni 2020.

Love this – super helpful! Adding all of these to my amazon cart now. Thank you!!!
Awesome, Janelle! This setup has been a game changer. Let me know if you run into any questions!
Super detailed, amazingly helpful post. Thank you for sharing – I’ll be doing my best to replicate it at my home studio!
Hi,
Great setup! Thanks for sharing.
I have not utilized a tripod previously and I am acknowledging it would be decidedly effective. I didn’t see before that I generally have a slight shake when I take photographs. Scarcely perceptible, however present in any case. I preferred the Manfrotto tripod ( Manfrotto 058B Triaut Camera Tripod – Replaces 3251) that you connected to in your post. It was around $500. Do I need anything else to go with it? I mean to shoot both calculated and overhead photos and in the end possibly video. Do I need an extra ball head (?) and the arm to empower me to do as such? Much obliged ahead of time!
Hi there!
I am not familiar with that tripod or the type of camera you’re shooting with. But, for overhead shooting, you may need an extra extension arm such as the Manfrotto 131D Lateral Side Arm. The tripod you listed is also for medium format or 4×5 cameras, so be sure to check with Manfrotto if you will need a separate ball head or not. So glad you enjoyed the post! Cheers!
This is so informative!! Thank you so much! On another note…I noticed on your setup that it looks like you have an umbrella light and a reflector…do you shoot with natural light? Would I be able to attain the beautiful soft lighting you get without the natural light? It’s a challenge finding time to shoot while the sun is still out and without my 5 year old running around during the day lol.
Hi Jas!
Thanks for commenting! I shot with natural light for years, but I actually shoot with studio lights now – for the same reason you mentioned – control and not always being able to shoot at that “perfect time of day.” My home studio is setup in our entryway where there is a decent amount of natural light from that large window, however it doesn’t affect my working with studio lights. My camera settings and the power of the lights allow me to control the look I’m going for completely – without relying on natural light at all. I hope this helps and good luck with your photography!
It’s an interesting set up and thank you so much for your post and for sharing. But I’m having a hard time understanding how the set up allows you to raise and lower your camera with ease. Wouldn’t you have to raise or lower one side and then go around to the other side to rasie and/or lower that side and then use a level to make sure everything is level and if not repeat the process? I’d really be interested in hearing how you address this potential problem. I think maybe using a 24-70 would save substantial time but I love my primes.
Hi Barbara!
Thank you so much for this question! You are correct – I typically raise one light stand at a time and make sure it’s level. It doesn’t take much time at all. Adjusting the light stands height is much easier (and faster) than adjusting the three legs of my tripod. The 24-70 lens is a GREAT idea for this overhead setup if you’d rather just adjust the light stands once and then zoom in or out with the lens throughout the shoot. Everyone’s workflow is a little different, but I’ve definitely found this setup to be way easier to work with for overhead shots. Hope this helps!
Hello again! Apologies for the second reply here but I was reading your post again and Lightroom doesn’t support Nikon tethered in live view. You mentioned that “tethering allows you to view the images on your computer screen instead of on the camera back.” So my question is what software are you using to view the images while tethered? Can’t be LR. Thank you!!!
Hello again! Yes, you are correct. Lightroom doesn’t support live view for Nikon cameras while tethered for the initial setup. During my workflow, I don’t mind taking a couple of extra pictures during the initial setup so I can see if the camera, props and food are positioned correctly. I can easily review the images shot on my computer and make adjustments to the composition as I get started. While having the live view would be so nice, this workflow has worked out really well for me. I’m debating trying Capture One, though, in order to have LiveView capabilities. I added links to Camera Control Pro 2 (a separate Nikon application) and Capture One (offering a free 30 day trial) in the post. I’ll list these under the “Shooting Tethered” section. Hope this helps and thanks so much for the great question!
Lightroom now supports LiveView with Nikon. Yay!
Hi Regan! Great post, I’ve been looking for a solution for top view images since my tripod isn’t tall enough, and I’ve encountered all the problems you mentioned. So I generally get on a chair and shoot without a tripod at all, but this limits me because I can’t get any shots with my hands in the photo, and it can get exhausting going up and down the chair 100 times, lol. So thanks for this post. Also, I see you’re using a white reflector, but your shots generally look light to dark with nice depth, do you block light on the sides or opposite of the light source?
Hi Mary! I’m so glad you found this overhead setup helpful! I absolutely love it. As far as my light setup in the pictures – it can vary depending on what I’m trying to accomplish with the look of the image. I shoot with studio lights, so no natural light is getting into my images. I use one light for that light to dark look. I hope this helps! Cheers!
[…] This photographer is great at food photography. http://reganbaroni.com/blog/food-photography/simple-overhead-setup-for-food-photography/ […]
I’ve recently been following your work on Instagram! I’m loving what I see. Very inspiring work (just left a comment on instagram as well :P) Thanks for sharing this set up. I’m presently using a tripod, a small ladder to do overhead shots but I’ll definitely try to get this set-up in the future.
Oh, thank you so much!!! I used a ladder and a couple different tripods in the past too. This setup is a little more involved at first glance, but once you get it set up, it’s so much easier to get perfectly shot overhead images. It’s easy to setup and easy to take down and can pack up and travel on location, if needed. There’s nothing wrong with using a great tripod, but I got annoyed with having to adjust the legs for overhead shots. Hope this helps!
This is a game changer – thank you for sharing!
Cheers!
Awesome! You’re very welcome, Carrie! Cheers!
Such a well organized post! I’ve had all the same frustrations, and I think I already have most of the gear you mentioned for this. Eager to try it out!
Awesome, Cacey! I’m so excited for you to try it! Glad the post was helpful.
Hi!
I am trying to build out this setup as we do a lot of overhead photography in our studio, and this looks like it will streamline the overhead setup process.
Can I use two Neewer metal c-stands for the two sides, or they have to be the Manfrotto-style light stand for it to work properly?
Hi Sarivka! You can use any two light stands you want for this setup. It is a great setup – let me know if you run into any other questions!