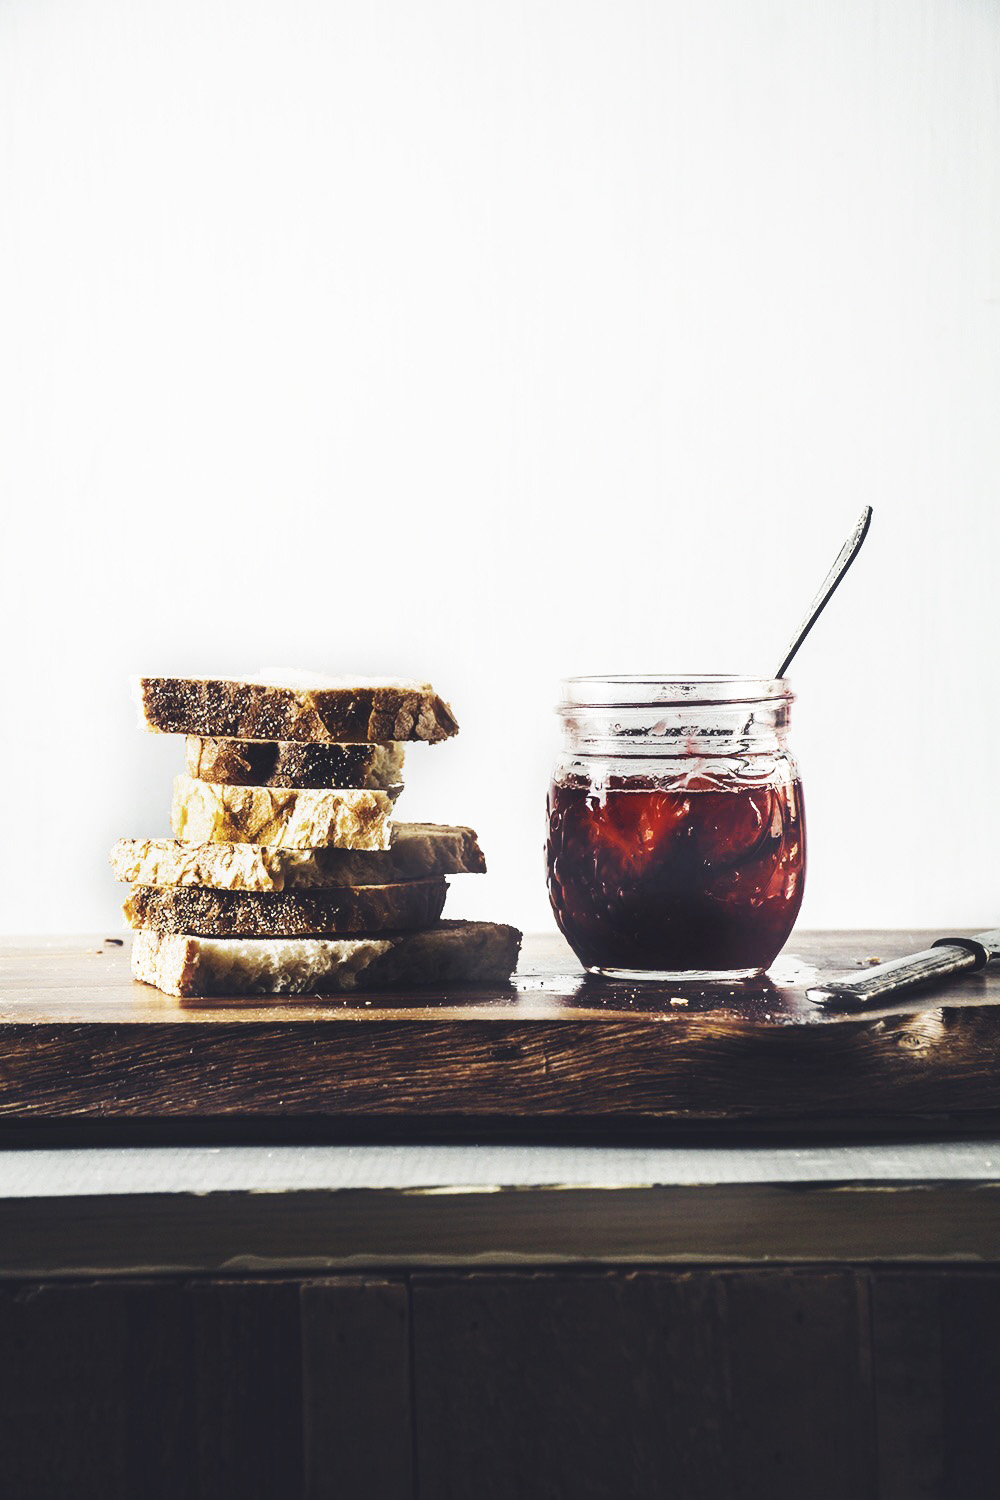
It’s strawberry season and I have been wanting to make homemade strawberry jam since the leaves started turning last fall. The time has come for me to finally do it! Grab the recipe below along with a couple of food photography tips from my photo shoot at home.
This post contains affiliate links. Read the affiliate disclosure.
Food Photography Tips for Homemade Strawberry Jam
Get Some Food Styling Tools
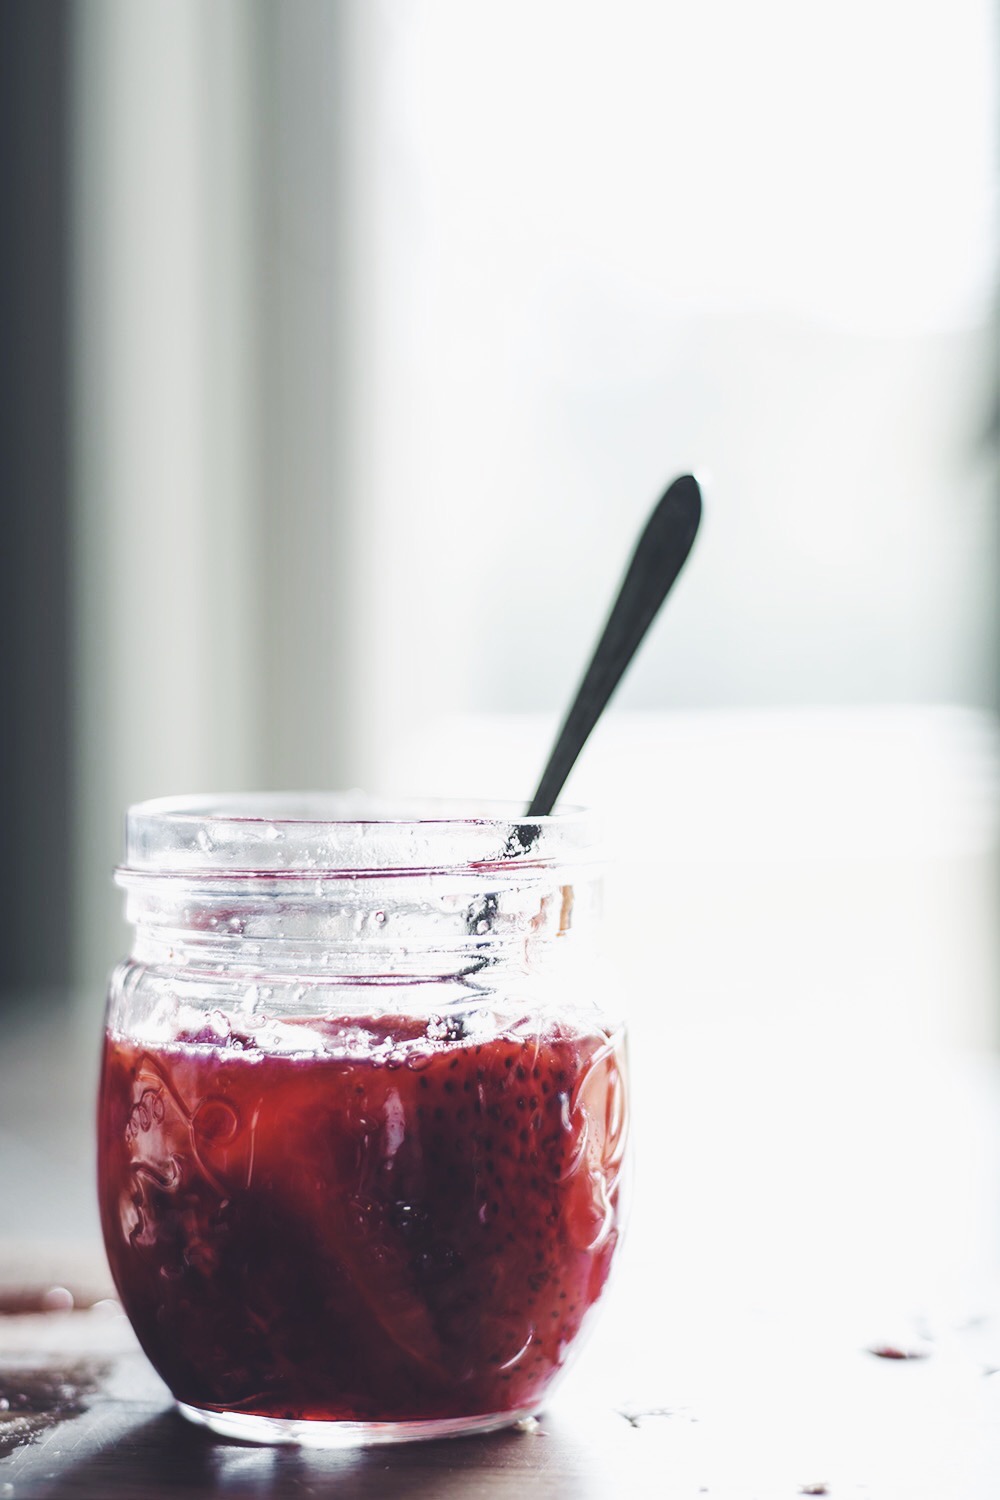
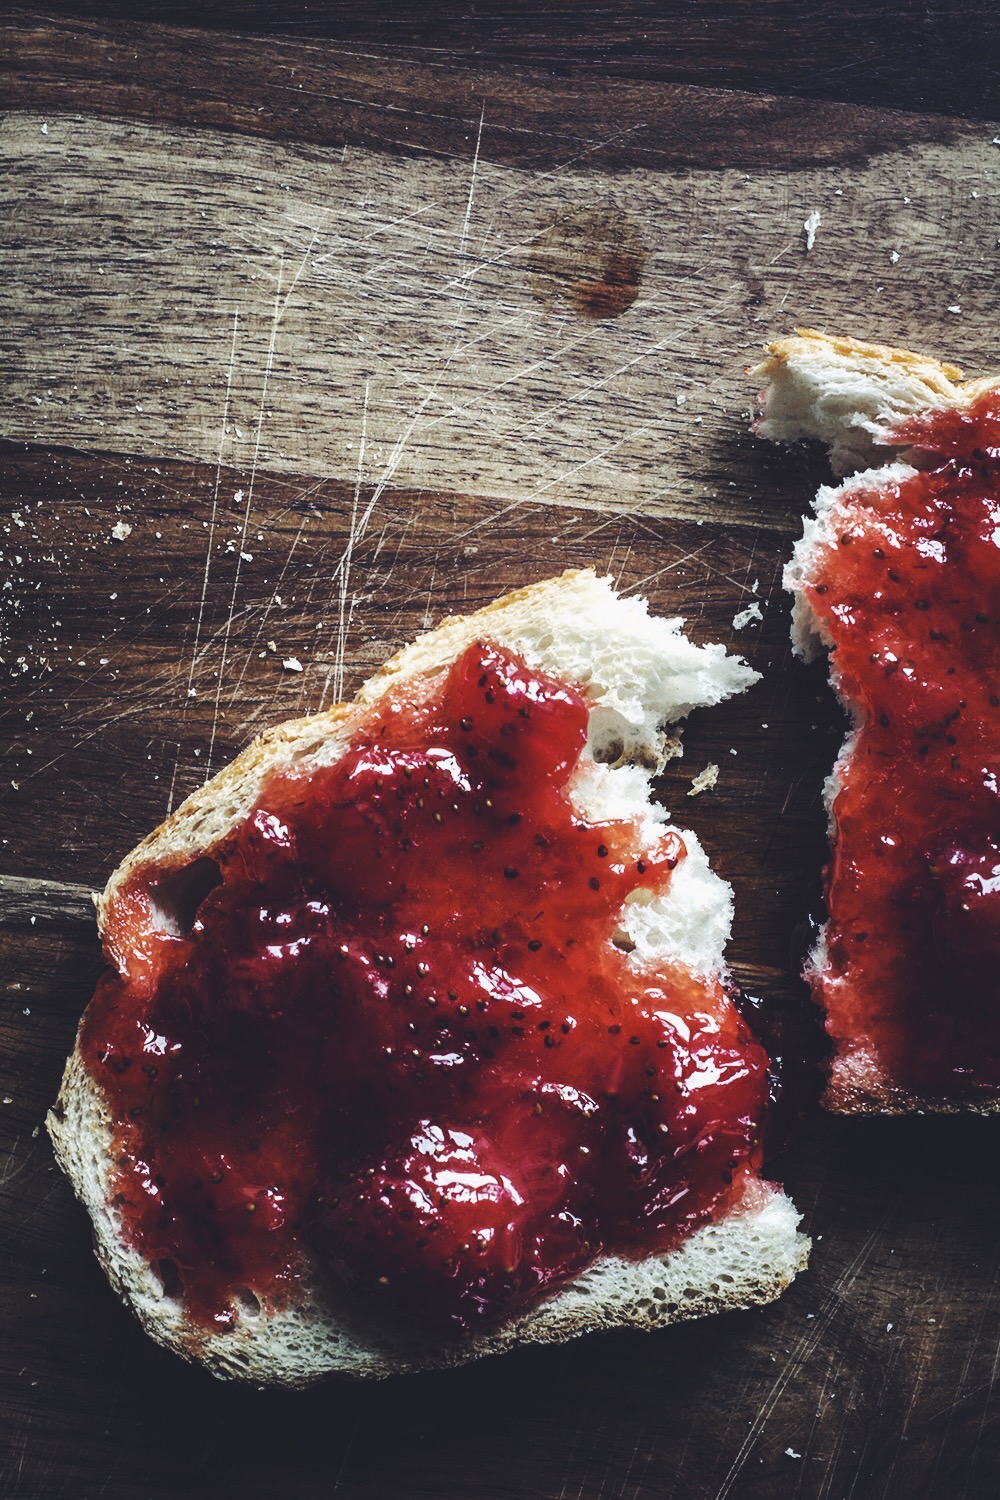
Food styling is a true specialty and the tools that come with it are incredibly helpful. For this homemade strawberry jam shoot, I really wanted to emphasize the details of the strawberries. Some became more caramelized and others stayed more intact. When I wanted to shoot the jam in the jar or on a piece of toast, I used special food styling tweezers to adjust the position of the strawberries. Showing off the beautiful details of the strawberry skin and the gooeyness of the jam helps the images feel more appetizing.
—
READ MORE ABOUT: FOOD STYLING TOOLS EVERY PHOTOGRAPHER SHOULD HAVE
Recipe Notes for Homemade Strawberry Jam
I had read about how easy homemade strawberry jam is to make, so I decided to check out Barefoot Contessa’s recipe (I looooooove her!), which calls for lemon juice, lemon rind, sugar and of course, strawberries. How easy is that? 😉
Pectin
I’ll admit it took me a couple tries to get the jam to actually set to that viscous gelatin-like texture we all love. My first attempt came out really tasty, but incredibly runny.
Have you heard of pectin before? I hadn’t used it before, but Healing Cuisine by Elise was very informative. This is what sets the jam, but you can use sugar to do this as well.
Don’t Go Easy On The Sugar
I have a habit of using much less sugar than a recipe calls for because I tend to shy away from things being too sweet. I figured since the strawberries were delicious on their own, I’d go easy on the sugar.
When you’re making homemade strawberry jam however, you really do need to use the amount of sugar the recipe calls for. You can also substitute the sugar with a low-sugar pectin, because it gives it that thick, gooey richness that gels with the toast perfectly.
After my first failed attempt, I used the exact amount of sugar the recipe called for and it turned out sweet, tangy, thick and delicious. So, don’t go easy on the sugar. 😉
Homemade Strawberry Jam
Ingredients
- 1.5 pints fresh strawberries, hulled and halved
- 2 cups sugar
- 1 large lemon, zested and juiced
Instructions
- Place a plate in the freezer. You’ll want to use a very cold plate to test the juice to see that it gels together.
- Combine the sugar, lemon zest and lemon juice in a sauce pan.
- Cook and stir over very low heat, for 10-15 minutes, until sugar is dissolved.
- Add the strawberries and continue to cook on low heat for 20-30 minutes.
- The strawberries will release their juices and the mixture should start to boil slowly.
- Continue to cook until a small amount of the juice gels on a very cold plate. Remove plate from freezer to test this out.
- Pour the juice and strawberries into pint-sized jars and keep refrigerated until it sets completely.
- The jam should be good for about 2 weeks.
This post contains affiliate links which means if you click or make a purchase through my site, I might make a small commission at no extra cost to you. I only promote products that I actually use and support.
—
All images © Regan Baroni 2015.

[…] You should also check out my Homemade Strawberry Jam. […]
[…] should also check out my Raspberry & Pear Mini Tarts, my Homemade Strawberry Jam and my Fig and Serrano […]