Lighting for food photography and food videography is incredibly important. It helps set the mood, highlights details and texture and brings out the natural colors that make people hungry. Light helps you tell your story, but the way you use it can be very different. In this post, I’m going to discuss best practices for lighting for food photography and lighting for food videos so you can feel confident using light in either format. There are also some behind the scenes images and final shots at the end of the post, so be sure to check those out.
This post contains affiliate links. Read the affiliate disclosure.
Lighting for Food Photography and Food Videography
If you’re new to food photography or videography, lighting can feel like a challenging mystery. Why does your food look great in a photo, but not-so-great in video? Or, why does your video look well exposed, but when you take a picture, it looks overexposed? The truth is, lighting works differently for photography than it does for video and knowing how to adjust for each can make a huge difference. I want to help you learn what light works best in each situation, how to avoid common lighting mistakes, and some simple tips to improve your lighting setup.
What Makes For Good Lighting For Food Photography And Videography
When it comes to lighting photography or videos, you need to think about your light source and always make sure you have enough light to work with. It’s easier to take light away than it is to add more. You can’t make the sun brighter and you may not want to buy several artificial lights (lighting equipment can add up fast).
Light Source
Your light source is what type of light you’re using to help you capture your images or videos. Are you using natural light coming from the sun? Or, are you using an artificial light?
If you’re using natural light and relying on the sun, you will need to make sure you can set up near a window. Check out some additional natural light photography tips in this post.
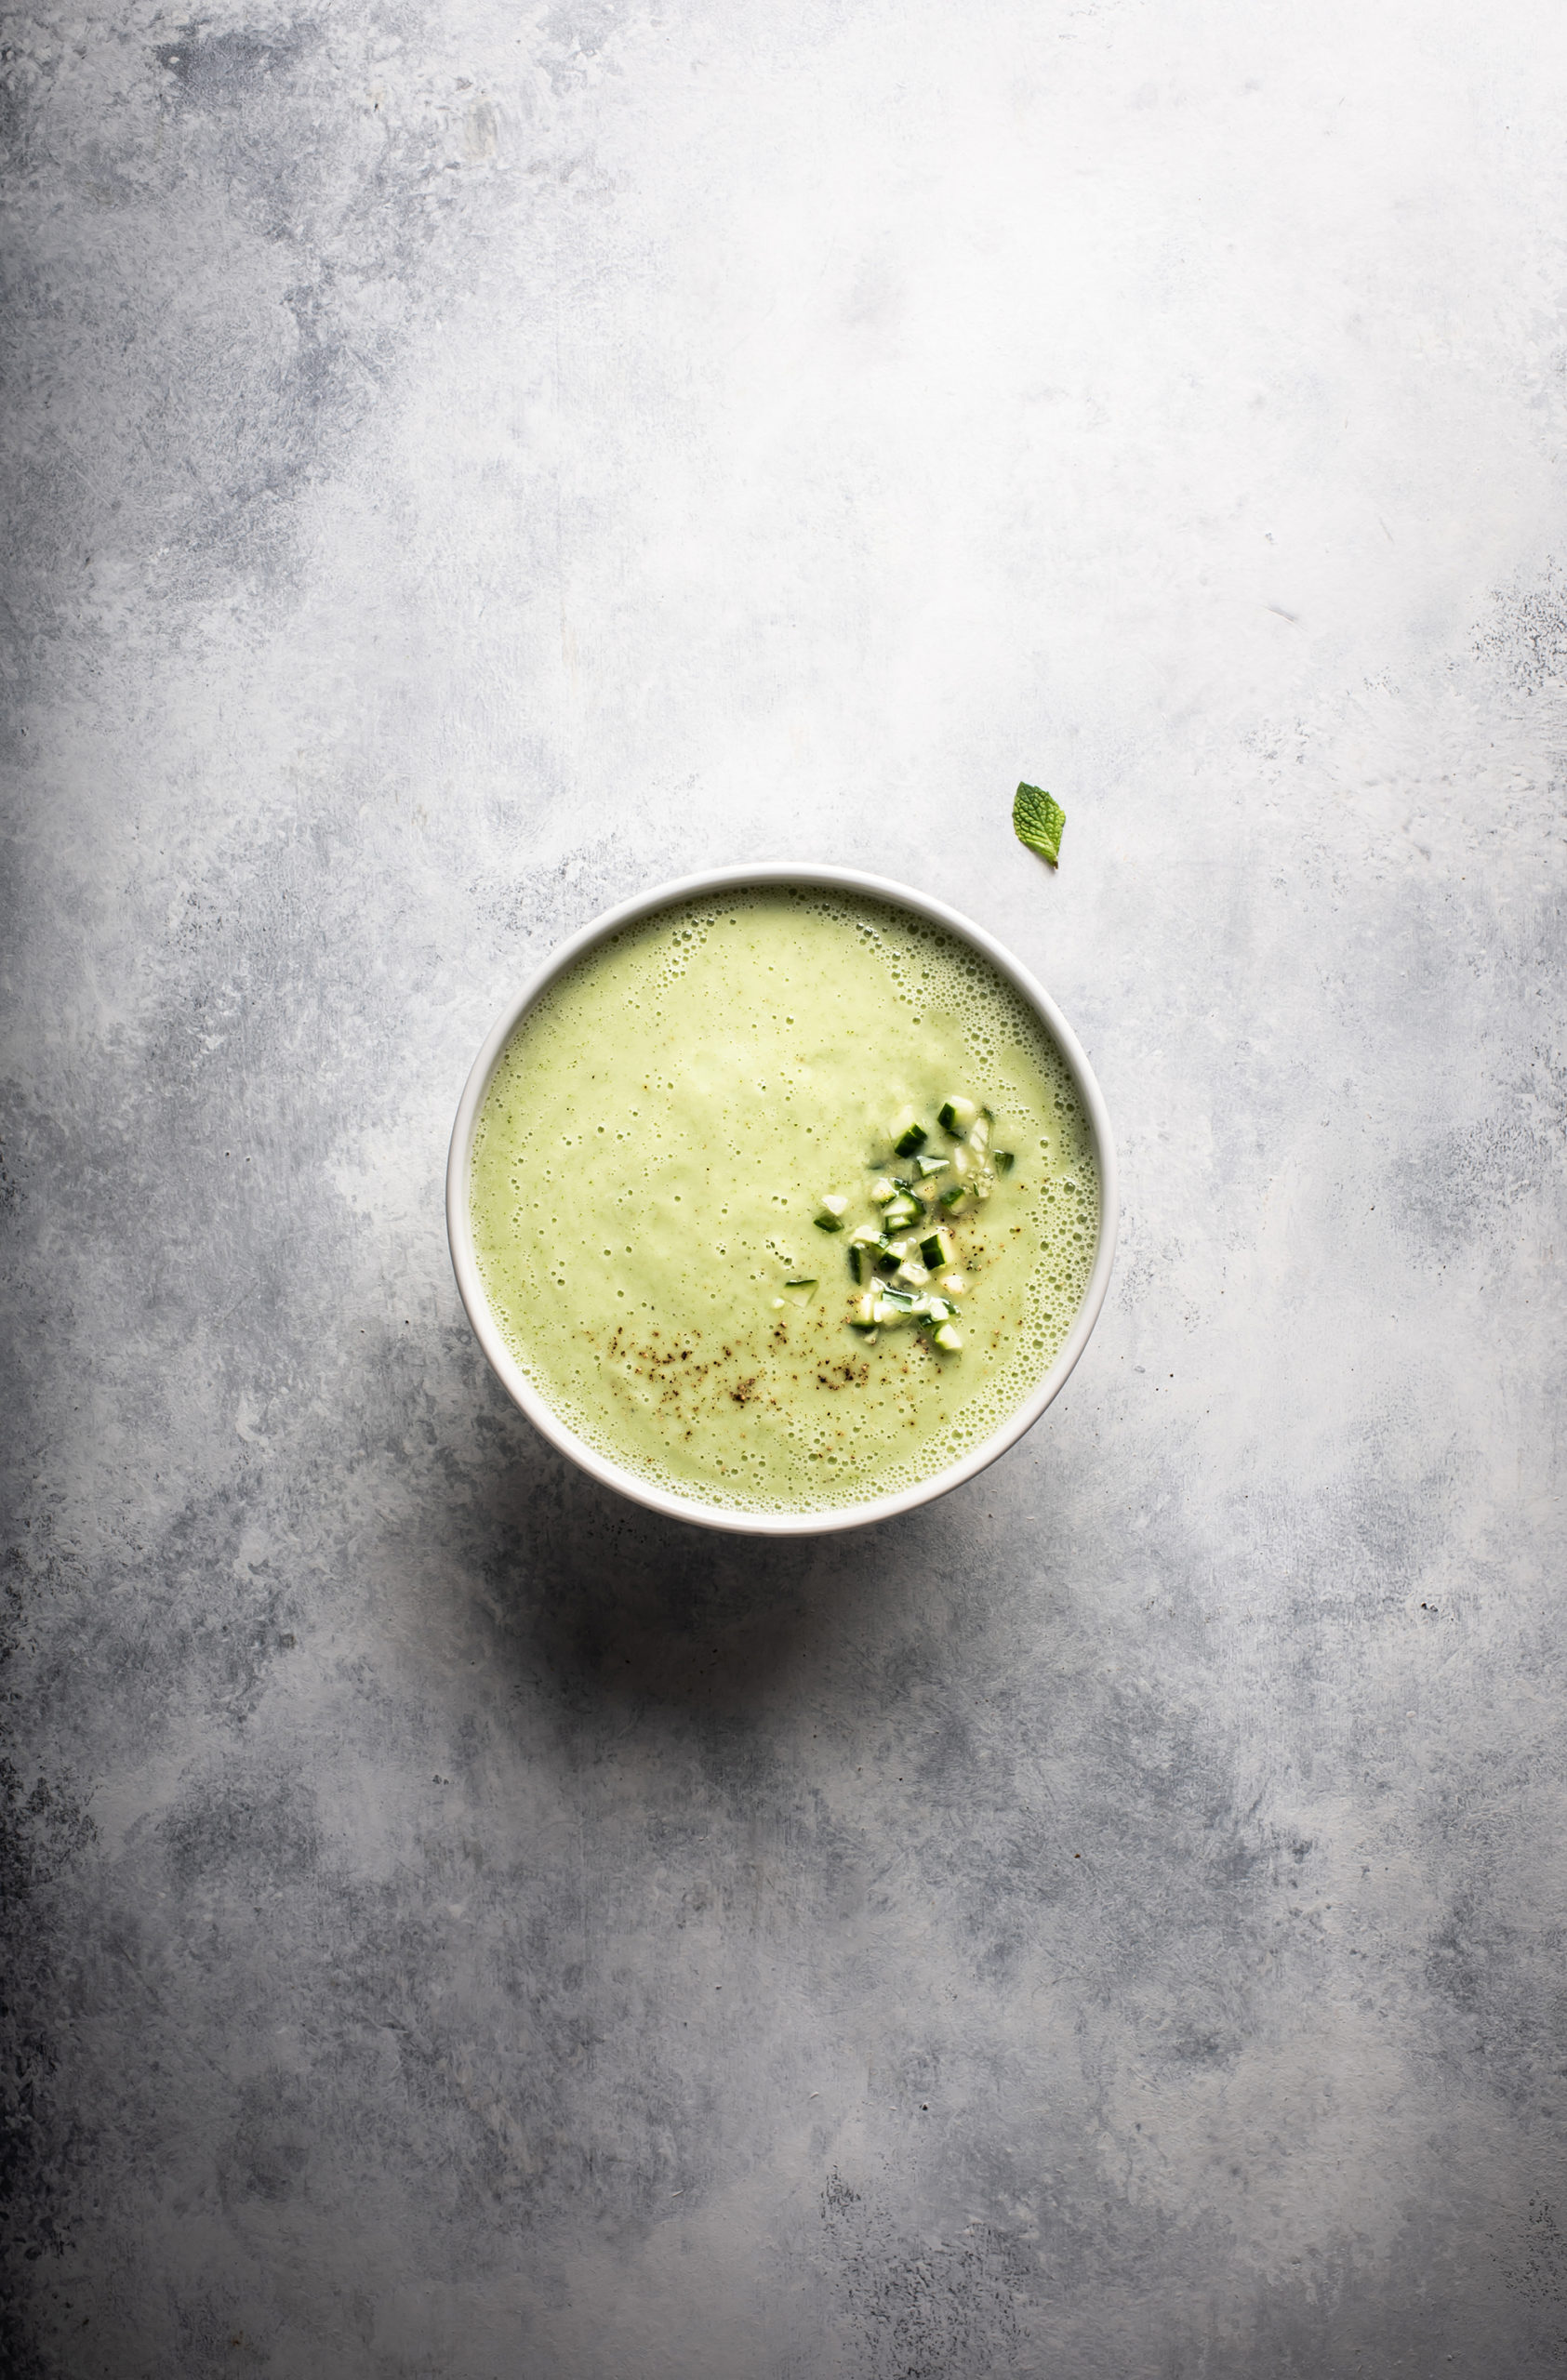
If you’re using an artificial light, you’ll want to make sure that your light has enough power to light your subject. I recommend finding a light that is at least 200w. Some people will say that you can start with a light that is as low as 60w at a lesser price point. But, if 60w isn’t enough power, you will need to buy more than one. So, it’s important to weigh your options when it comes to getting one more expensive light or multiple less expensive lights.
There’s more to consider when it comes to artificial lighting and we’ll get into in the next section. You can also check out some additional information on artificial light for food photography in this post.
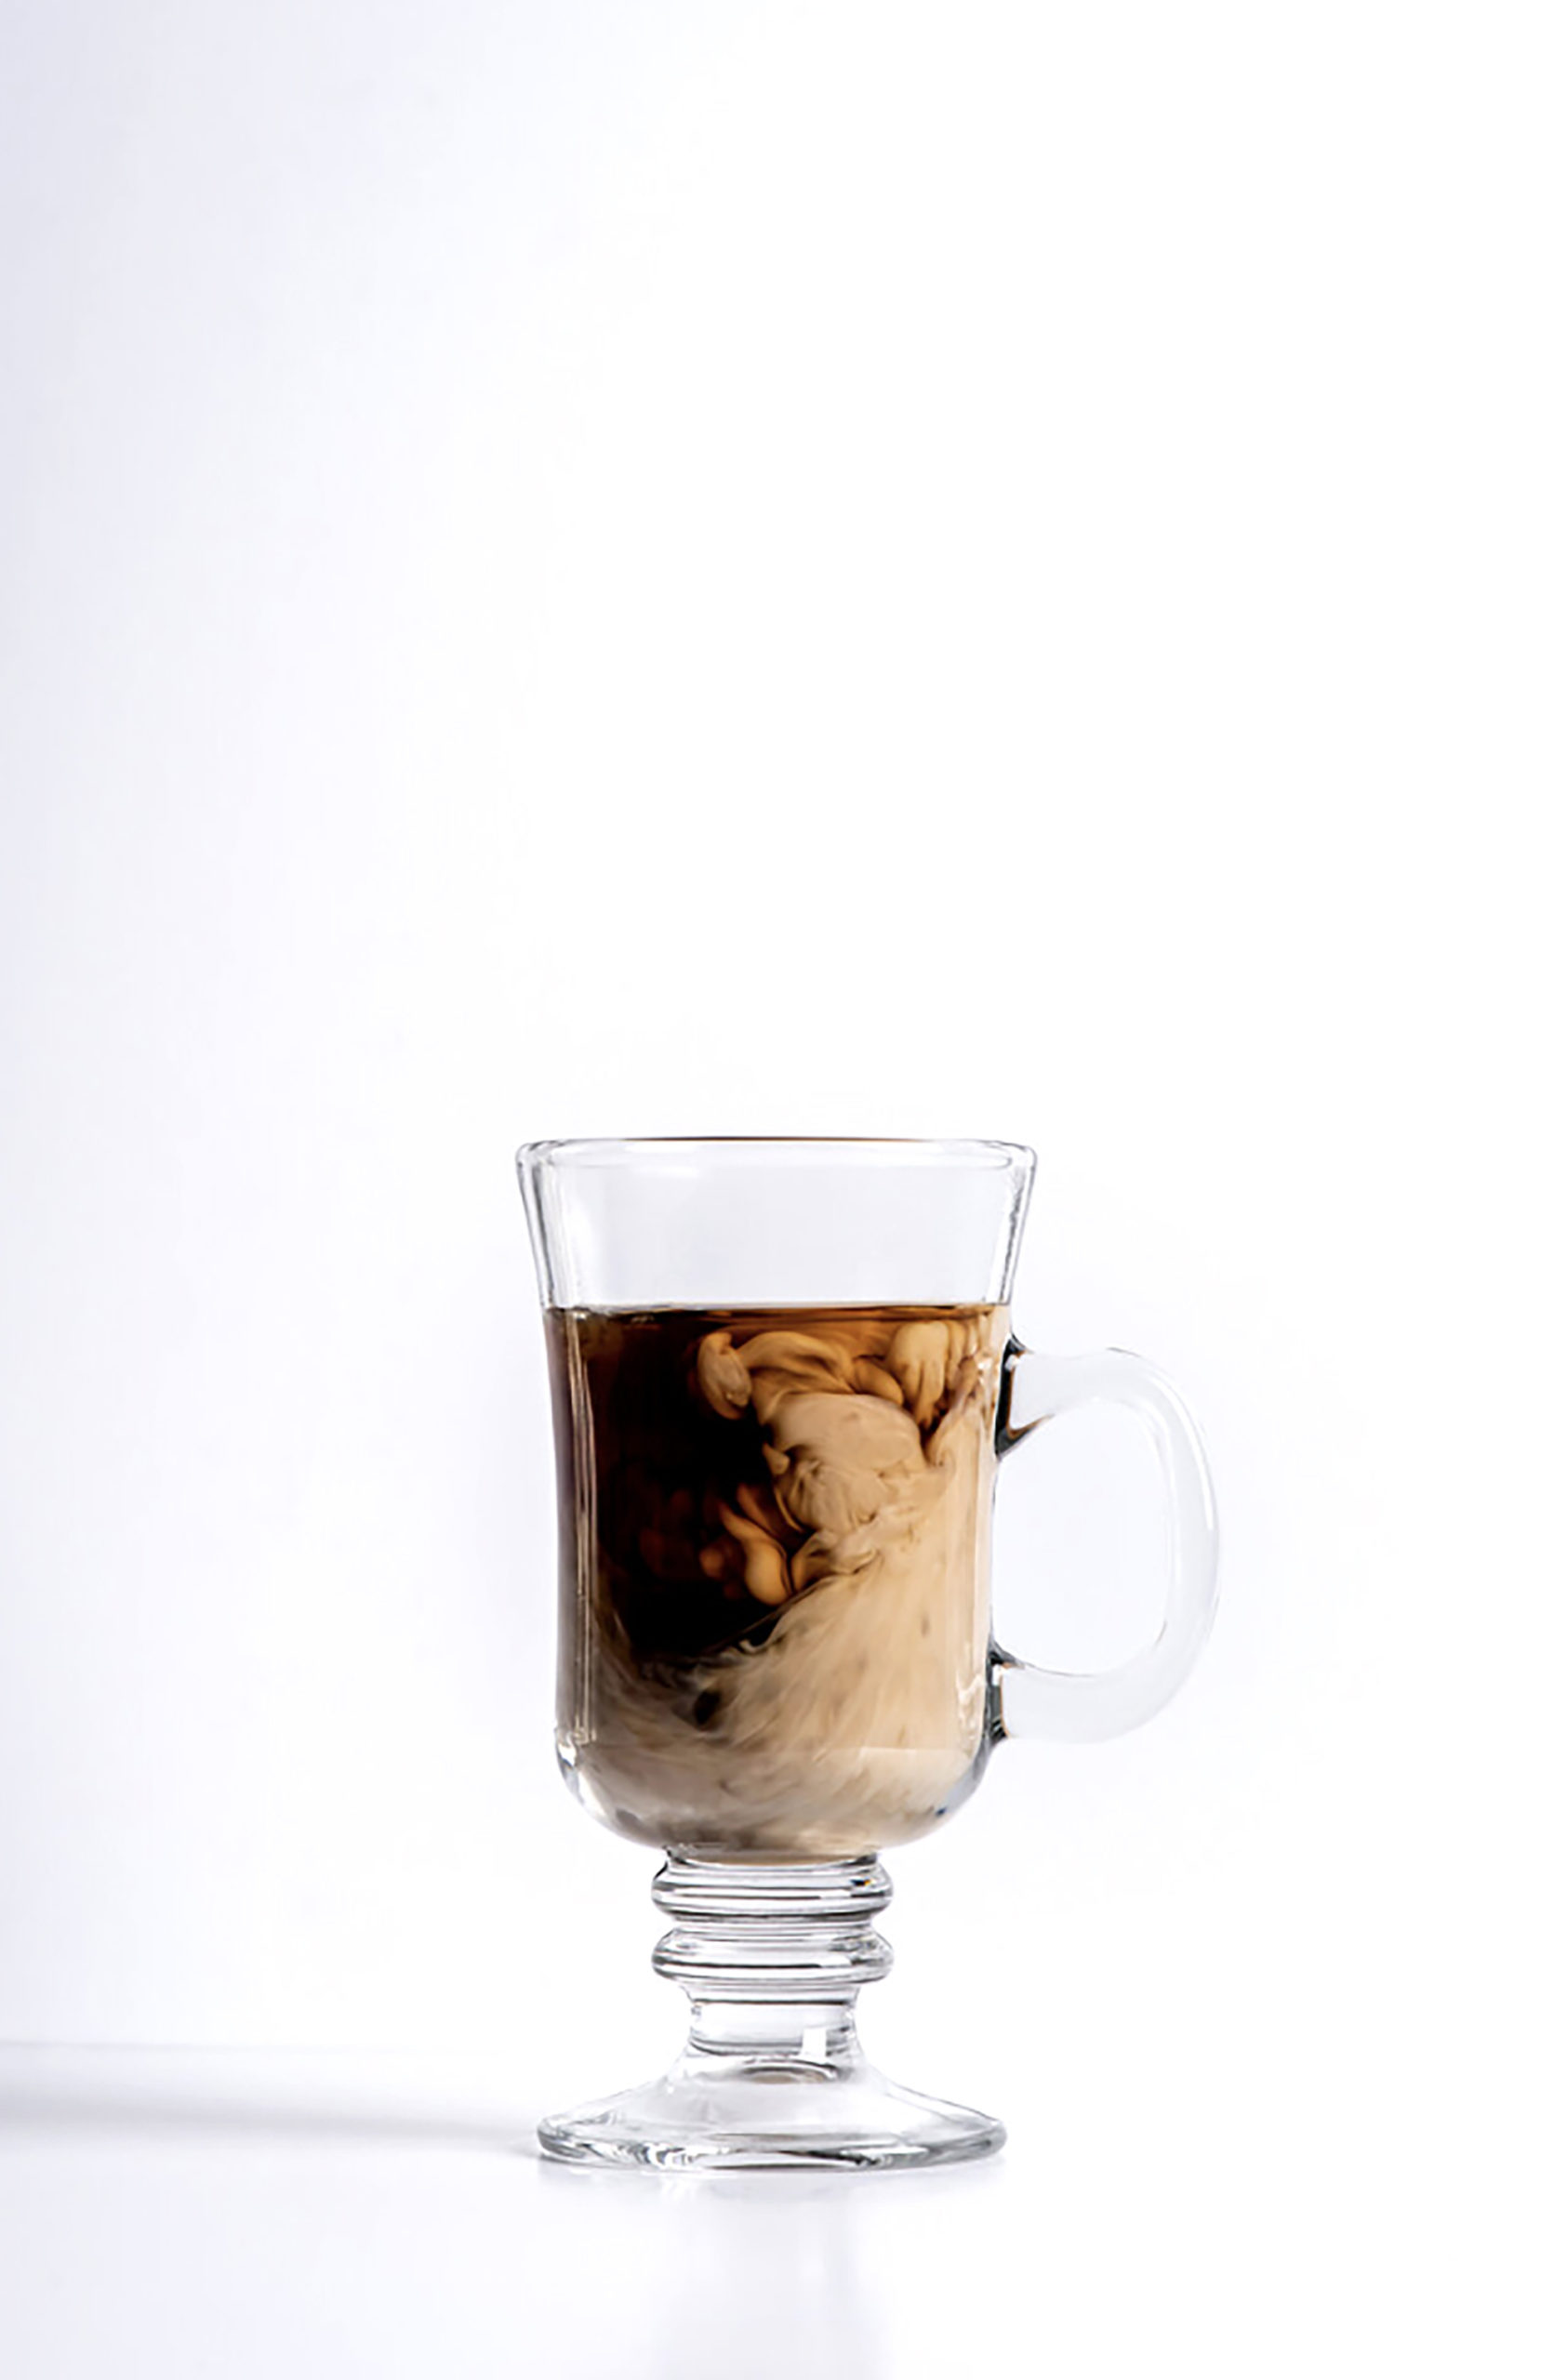
What Is The Best Lighting For Food Photography and Videography
When it comes to food photography and food videography, there isn’t a one-size-fits-all answer when it comes to the best type of lighting. However, there are a few best practices and tools to consider, so let’s dive in!
Natural Light
When using natural light, make sure you can set up next to a large window during daylight hours. This will help you get the best light on your food.
If you decide to focus on using natural light, you’ll want to consider the following things:
- Light Style
- Camera Settings
- Natural Light Tools
Light Style
Your light style refers to how you want your light to look in your image. Do you want soft light or hard light? You can always create soft light with natural light, but it’s trickier to create hard light.
Soft light is when you have little contrast and soft shadows in your images.
If you want to create soft light using natural light, consider the weather that day. Clouds act like natural diffusers for the sun, softening the light. If it’s bright and sunny, you can soften the light by putting up a diffuser over your window.
Hard light is when the light is more direct creating more contrast and stronger shadows in your images.
If you want to create hard light using natural light, you have to wait for a bright sunny day and let the light shine in directly through the window with no diffuser to soften the light. If you have several rainy days ahead, you may be waiting a while to create this type of light style.
Camera Settings for Natural Light
You will need to adjust your camera settings to help fine tune the exposure of your images when using natural light. The goal is to find a balance so your images look nicely exposed – not too dark and not too bright. And, because natural light is constantly changing, you may have to adjust your camera settings more frequently during your shoot to keep the light looking consistent throughout your images.
Natural Light Tools
When using natural light, there are some tools I recommend having on hand:
READ MORE ABOUT: NATURAL LIGHT FOOD PHOTOGRAPHY TIPS
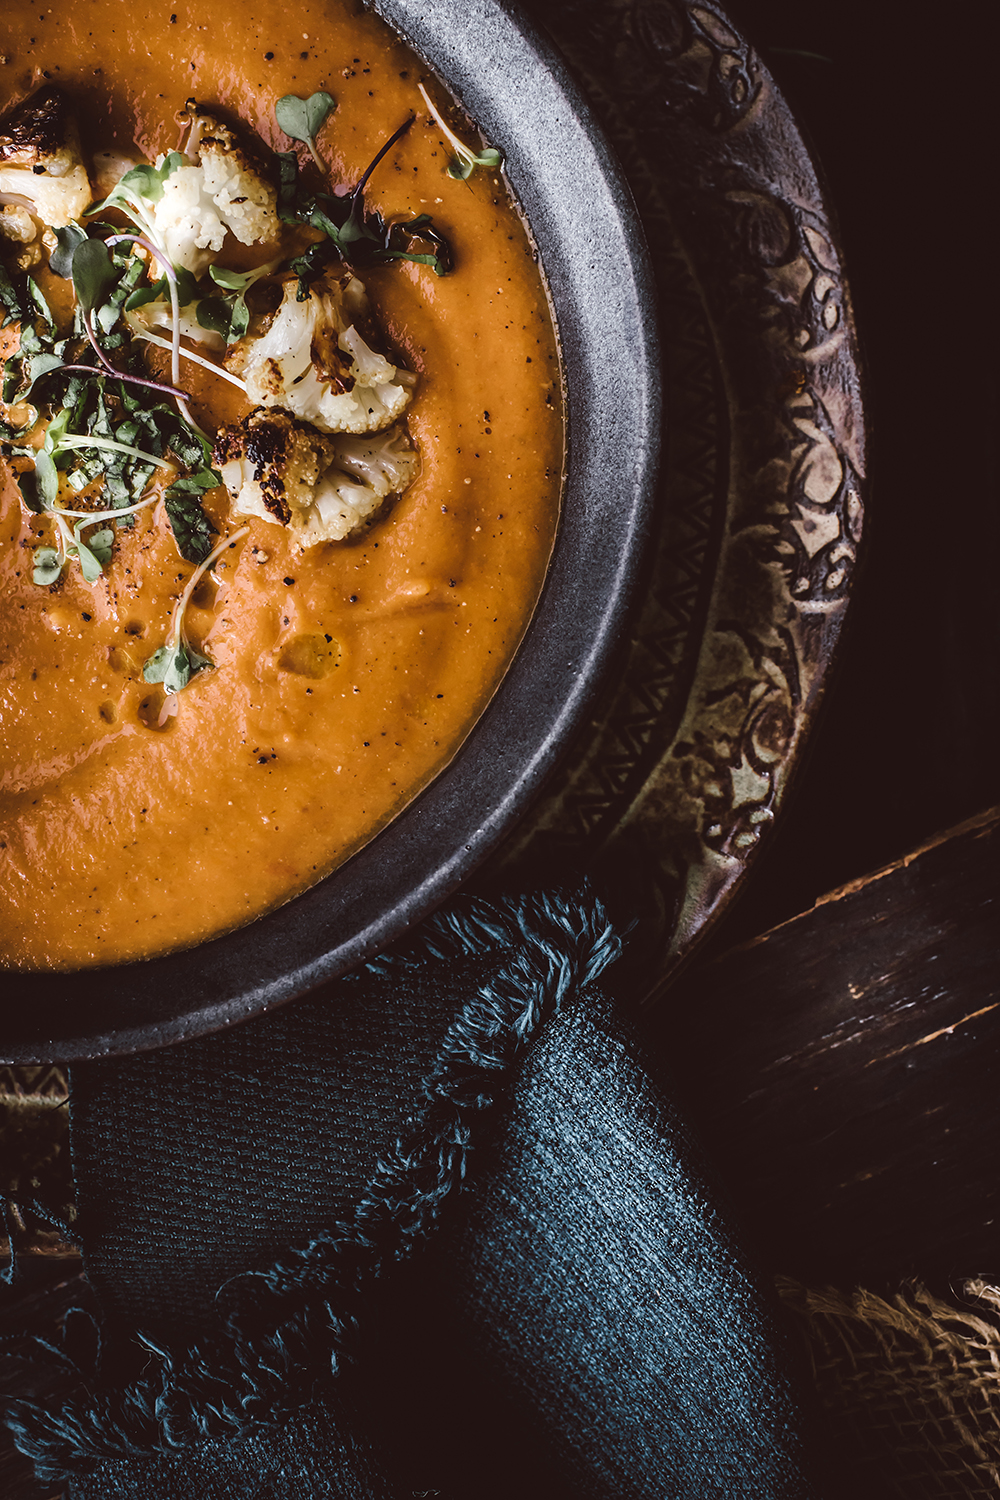
Artificial Light
When working with artificial light, you are using lighting that is separate from the sun. You can choose between the following artificial lights:
- Monolight or Continuous Light
- Strobe Light
PRO TIP: Do not use your overhead lighting as your artificial light.
Monolight / Continuous Light
A monolight and a continuous light are the same type of light and they don’t flash. You turn them on, adjust the power, adjust the color temperature and adjust the placement of the light. These types of lights allow you to see how your food is being lit in real time and you have the ability to create soft or hard light by using different light modifiers. You can use a continuous light for food photography and for food videography.
The continuous lights I recommend include:
Strobe Light
A strobe light is an off camera flash. It’s similar to a continuous light, because you can adjust the power, the color temperature and the placement of the light. You also have the ability to create hard or soft light with a strobe using a variety of modifiers. The main difference between a continuous light and a strobe is that a strobe is a flash and a continuous light is not. You can use a strobe for food photography, but not for food videography.
The strobe lights I recommend include:
Light Style
You can create soft or hard light using artificial lights with ease.
To create a soft light look, you would place a light modifier over your light to diffuse and soften it. A modifier could be a soft box or an umbrella.
To create a hard light look, you would use a beauty dish or no modifier at all to keep the light direct and strong.
Artificial Light Considerations
Whether you’re considering a monolight or continuous light or a strobe, be sure to consider the following before making your purchase:
- CRI (color rendering index – should be above 90)
- Bi-Color Capabilities (you’ll want to be able to control the color temp)
- Power (the more power, the better)
- Battery or Plug-In (battery powered will require a back up battery & plug-in will require an extension cord)
- Recycle Time (strobes only, the faster the better)
- Bowen’s Mount (this is the most versatile mount for attaching a light modifier to your light)
Camera Settings for Artificial Lighting
You will need to adjust your camera settings accordingly to get the best exposure on your images when using artificial lights.
The cool thing about using artificial light for photography is once the light and camera settings are set, the lighting will usually remain consistent throughout your shoot and you shouldn’t need to adjust them again.
When using artificial light with videography, however, you may need to make some camera setting adjustments when capturing your footage depending on the frame rate you’re choosing to use. You can read more about frame rates and how to choose them in my post about Food Videography Equipment.
I recommend using a strobe for photography.
A strobe is simply a more powerful light than a continuous light. And it is overall a better experience for shooting food photography.
For example, if I’m using a continuous light for food photography, I usually have to use a slower shutter speed to compensate for the lack of power coming from the light. A slower shutter speed risks introducing camera shake in your images, especially if you’re holding your camera. The best way to avoid camera shake at lower shutter speeds is to use a tripod.
I recommend using a continuous light for videography.
You have to use either natural light or a continuous light for capturing video footage so your lighting is constant while capturing your video footage. You cannot use a strobe for capturing video.
Artificial Light Tools
You will need the following tools to operate your monolight, continuous or strobe lights:
- Light Stand
- Softbox or Umbrella (best for soft light)
- Beauty Dish (best for hard light and usually comes with your light)
- Extra Battery or Extension Cable (get an extra battery for back up or an extension cable for extra length with plug-in lights)
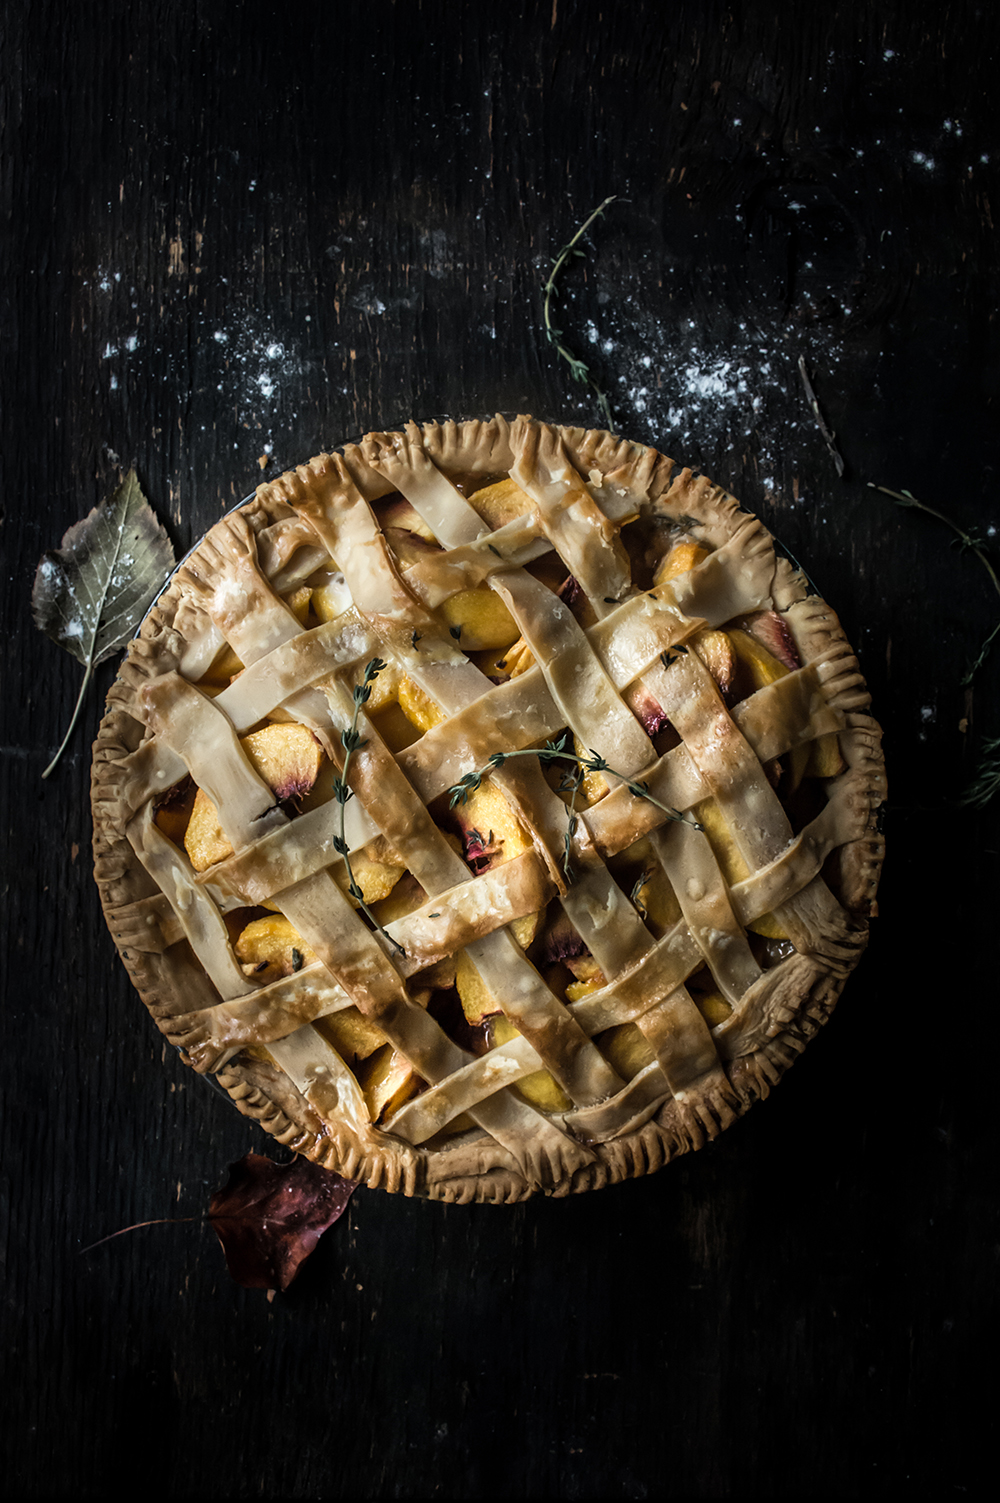
How To Set Up Lighting For Food Photography And Videography
Food Photography Lighting Setup
The most popular way to get started with your lighting your food photography is to light your food from the side – this is also known as side lighting. This is one of the most versatile and flattering setups for food photography.
To get setup using natural light, you should set up your table next to a window. Then, shoot the food from the appropriate direction to ensure your light is coming from either the left or right side.
Check out the video below that shares the behind the scenes setup using the iPhone camera and the final image below it.
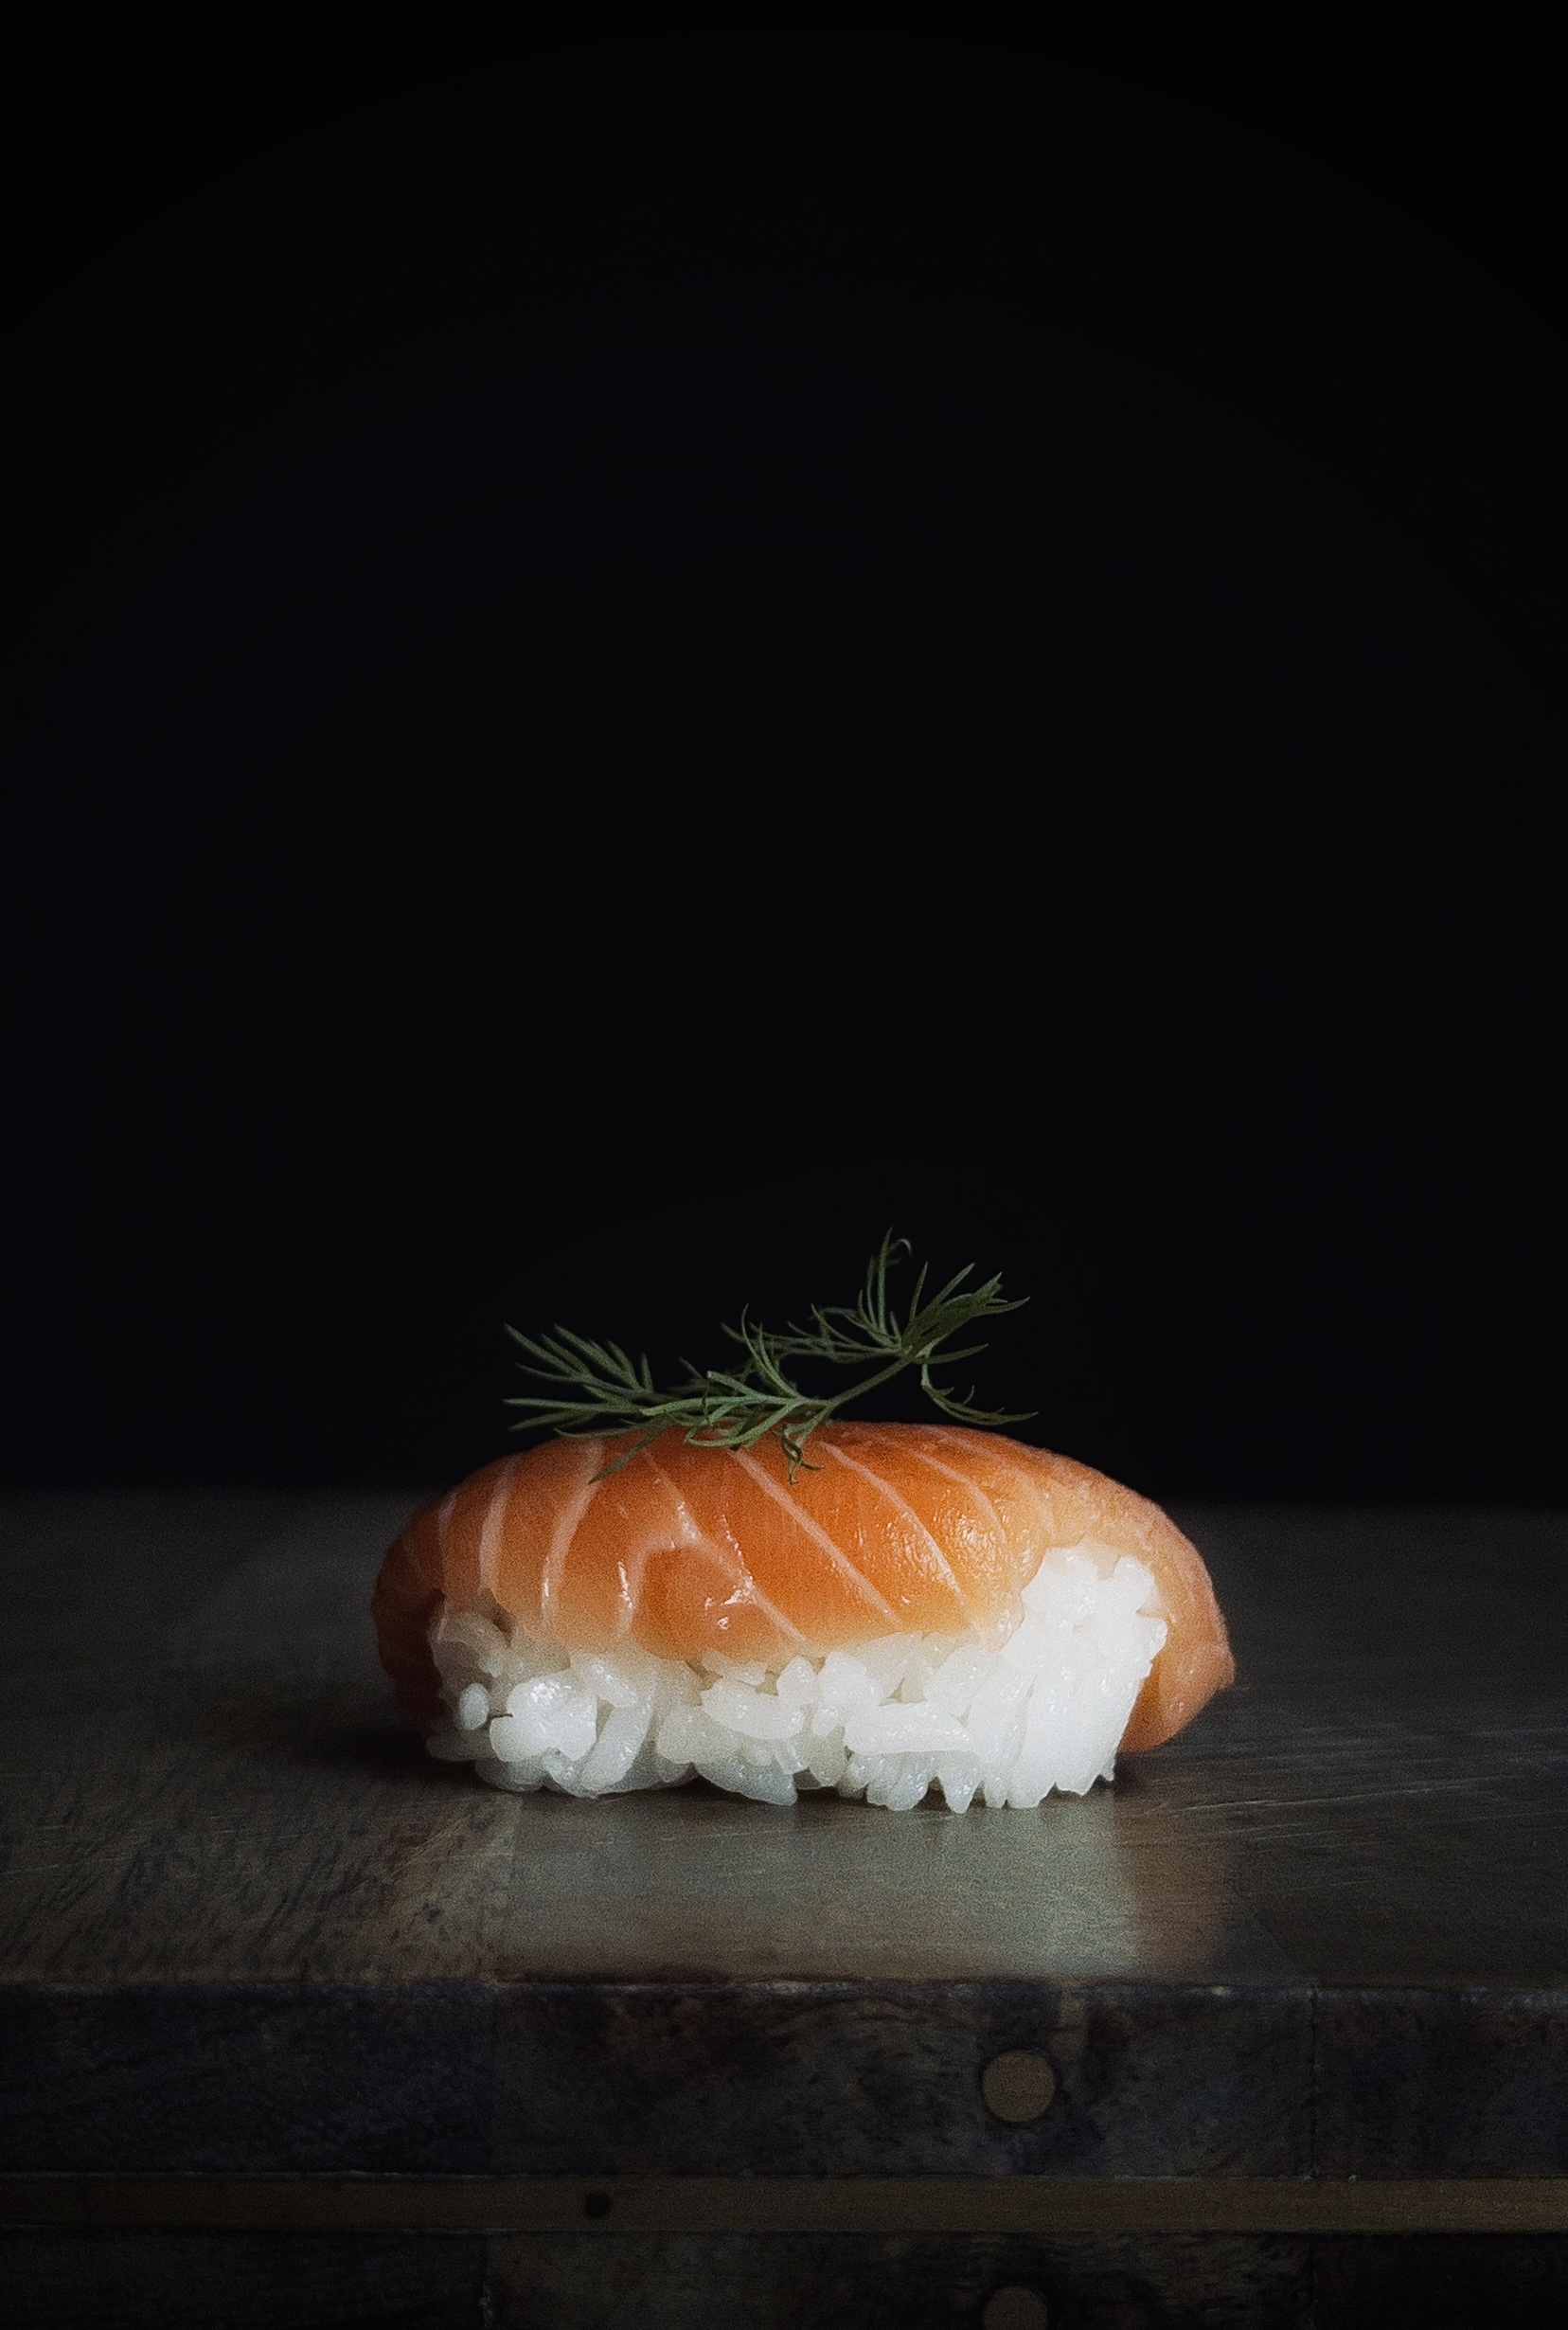
Did you notice the sushi image was shot using the iPhone camera in the behind the scenes video? It’s pretty cool to see the iPhone capture such a beautiful food image with natural light, isn’t it? If you are interested in learning how to do this too, check out my signature online course, Mastering iPhone Food Photography where I help people improve their food images using their smartphone camera.
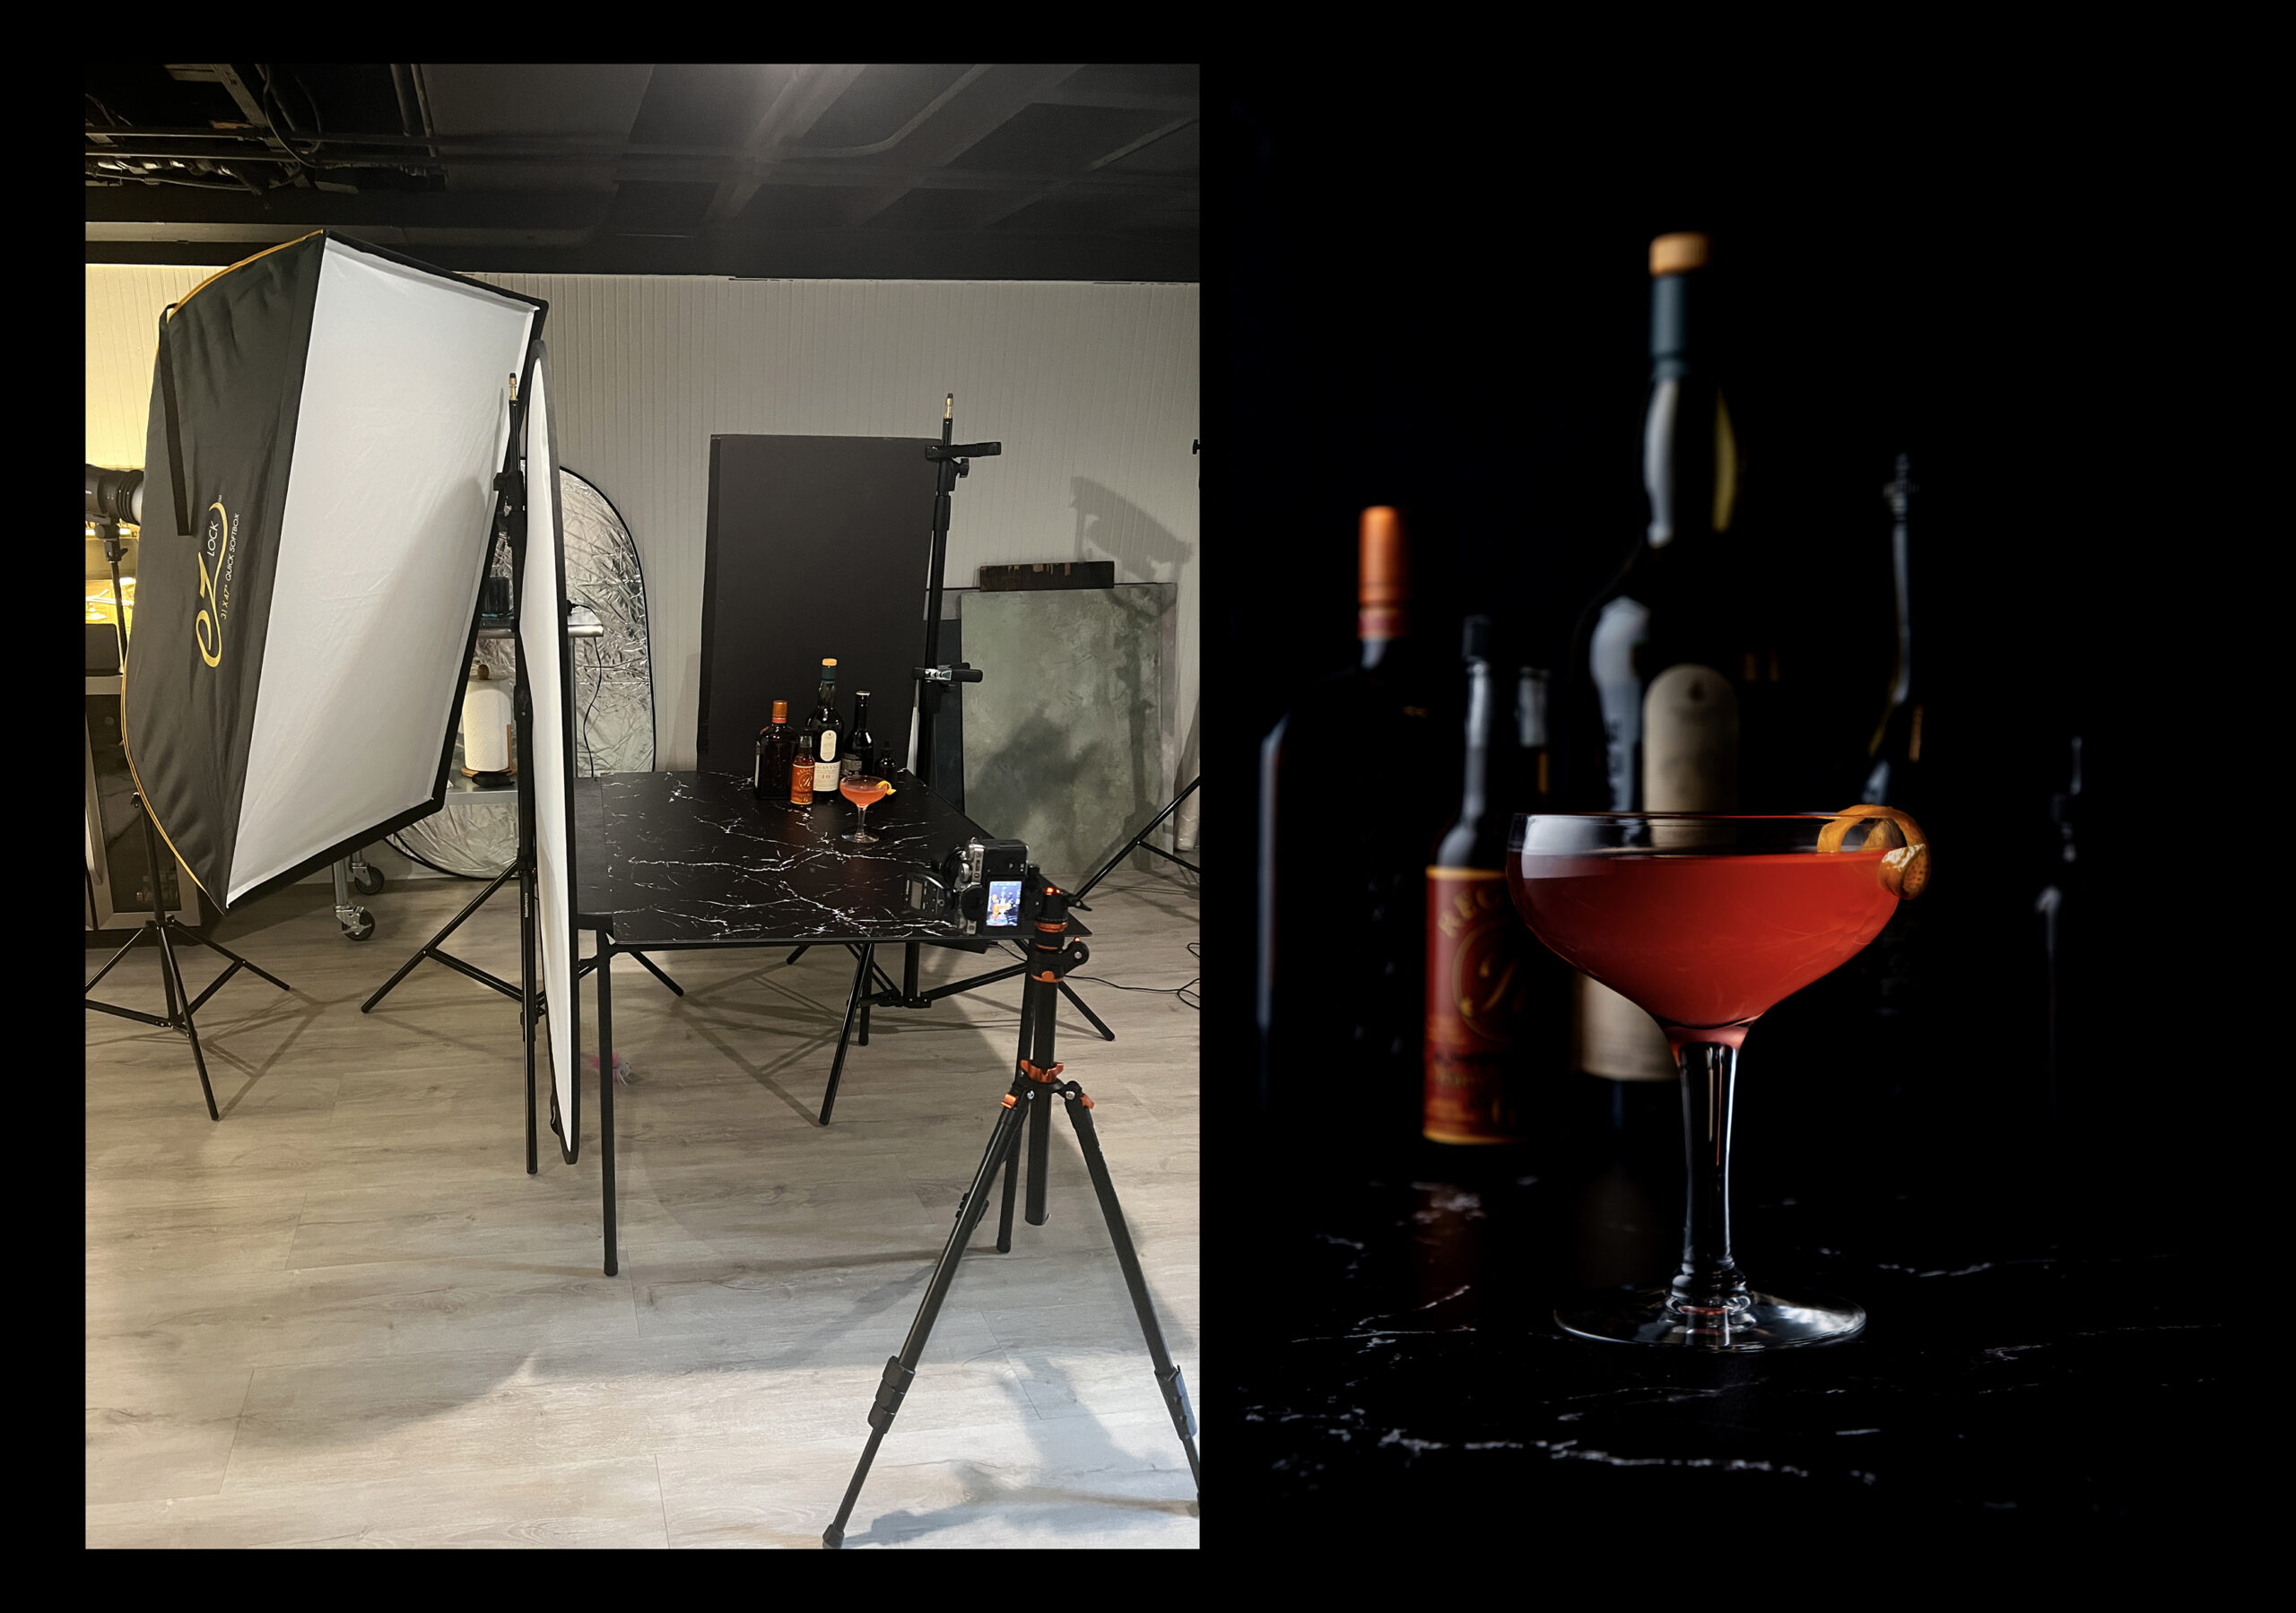
To setup using an artificial light, you should set up your table and then position the light on either the right or left side of the table.
See the example images below that shows a behind the scenes view of the lighting setup and the final shot next to it.
Food Videography Lighting Setup
For getting started lighting your food videos, I recommend starting from the side as well. This will give you an idea of how the light affects the video footage you’re trying to capture. Keep in mind, you will be capturing different angles and perspectives with your video footage and this may require you to adjust the placement of your light accordingly.
To get setup for video using natural light from the side, you will make sure that your window is to the left or right side of where you’re staging your food.
Check out the video showing you the behind the scenes setup using natural light and then you can watch the final video here.
READ MORE ABOUT: IPHONE FOOD PHOTOGRAPHY LIGHTING TIPS
To get setup for video using artificial light from the side, you will make sure that your artificial light is setup to the left or right side of where you’re staging your food.
Check out the video below showing you the behind the scenes of the setup and then watch the final video here.
However, in this restaurant feature, I used two continuous lights. One was considered my key light and one was considered my fill light.
A key light is your main light source and a fill light fills in extra light if one side might be getting a little too dark. I had to move both of my lights around to capture the different footage I needed. And, I had to adjust my camera settings accordingly to capture the slow motion.
But, don’t overwhelm yourself with thinking about multiple lights at first. Side light is a great place to get started with food videography and you can grow your skills from there.
In conclusion, the best way to learn more about lighting for photography and videography is to practice! Use this post as a guide for tips, best practices and tools, but then don’t be afraid to experiment with your light gear and your lighting setup in your own way. Reach out with questions anytime and be sure to follow me on Instagram!
Happy Creating!
This post may contain affiliate links which means if you click or make a purchase through my site, I might make a small commission (at no extra cost to you). I only promote products and equipment that I actually use for my photography business. Your support helps me continue to produce educational content about photography. Thank you!
All images ©Regan Baroni 2025.
Comments +